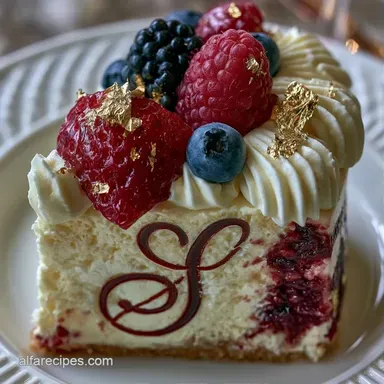
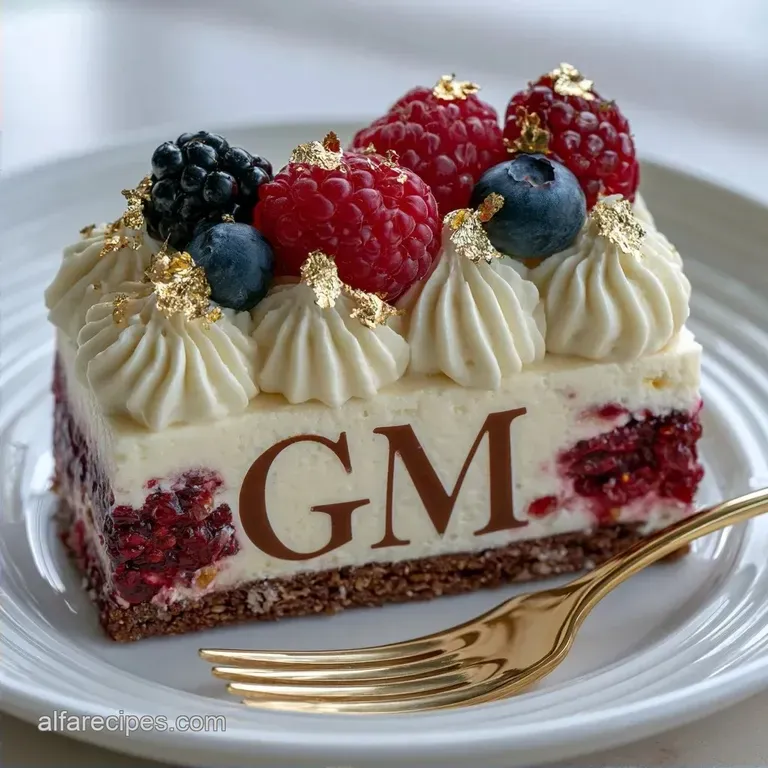
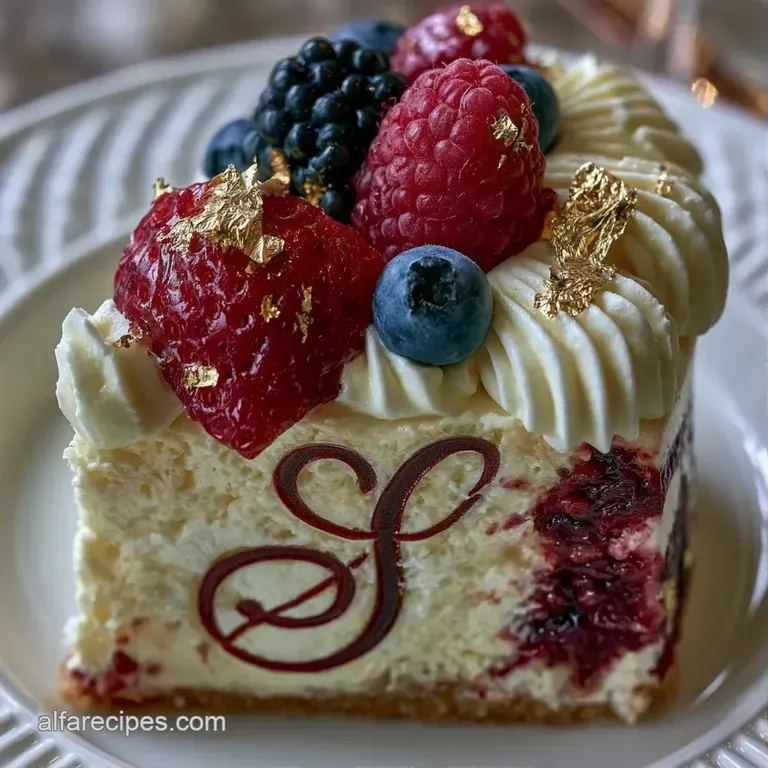
Modern Graduation Monogram Cake with Cream Cheese Frosting
- Time: 45 min active + 4 hours 30 mins chilling
- Flavor/Texture Hook: Buttery vanilla sponge with a stable, tangy frosting
- Perfect for: Graduation parties and celebratory photo ops
- Making a Modern Graduation Monogram Cake
- Why Most Recipes Fail
- Precise Cake Specs
- The Ingredient Deep Dive
- Essential Baking Gear
- The Precise Assembly Steps
- Fixing Common Errors
- Troubleshooting Common Issues
- Twists and Ingredient Swaps
- Storage and Leftovers
- The Best Pairings
- Recipe FAQs
- 📝 Recipe Card
The smell of vanilla and browning butter always reminds me of the chaotic energy of graduation season. I remember one year trying to make a fancy cake for my cousin, but the frosting melted the second it hit the table.
It was a disaster of sliding cream and sagging sponge, and we ended up eating it with spoons straight off the platter.
That failure taught me that architecture matters just as much as flavor when you're building a letter cake. You can't just wing the ratios, or the weight of the toppings will crush the bottom layer.
This Modern Graduation Monogram Cake uses a specific set of ratios to create a sturdy base and a frosting that actually holds its peak. It's a clean, polished look that feels current, but the science behind it is all about stability and temperature.
Making a Modern Graduation Monogram Cake
Right then, let's get into the logic of this build. Most people treat a monogram cake like a standard layer cake, but it's actually more like a construction project. You need a sponge that is dense enough to be cut into sharp angles but light enough to stay fluffy.
The biggest hurdle is usually the frosting. If your butter is too warm, the whole letter will lean. If it's too cold, you get lumps. We're aiming for a precise window where the fats are emulsified but the structure is firm.
But what about the toppings? That's where the "modern" part comes in. Instead of heavy swirls of icing, we use precise dollops and fresh elements to keep it looking fresh.
Why Most Recipes Fail
Most home bakers struggle with the structural integrity of these cakes. They often end up with "melting" letters or crumbly edges that look messy.
Sponge Density: Using too much baking powder creates large air pockets. These pockets collapse when you cut the letters, leading to jagged edges.
Frosting Temperature: Using room temperature cream cheese often leads to a runny consistency. Chilling the cheese before beating ensures a stable bind.
Cutting Technique: Cutting a warm cake is a recipe for disaster. A chilled sponge resists tearing, which lets you get those sharp, professional lines.
| Method | Time | Texture | Best For |
|---|---|---|---|
| Oven Bake | 30 mins | Even, springy crumb | Clean monogram cuts |
| Stovetop Pot | 60 mins | Steamed, denser feel | Emergency no oven bakes |
Precise Cake Specs
For this to work, we need to hit specific markers. If you're off by even a few degrees, the texture changes.
Precision Checkpoints:
- Oven Temp: 350°F (175°C)
- any higher and the edges burn before the center sets.
- Frosting Butter: 65°F
- this is the sweet spot for stability.
- Flash Chill: 30 minutes in the freezer to lock in the crumb structure.
| Precision Metric | Target Value | Impact of Deviation |
|---|---|---|
| Batter Temp | 68-72°F | Too warm = uneven rise |
| Bake Time | 12-15 mins | Too long = dry, brittle edges |
| Chill Time | 30 mins | Too short = crumbling during cuts |
The Ingredient Deep Dive
The choice of fats and proteins here isn't random. Every gram serves a purpose in keeping the cake upright.
Sponge Stability: All purpose flour provides enough gluten to hold the shape of the letter without making it tough.
Sugar Balance: Granulated sugar provides the structure. Too much would make the cake too soft to carve.
Frosting Bond: The combination of chilled cream cheese and softened butter creates a stable fat matrix that supports the macarons and berries.
| Ingredient | What It Does | Best Swap |
|---|---|---|
| All Purpose Flour | Provides structure | Cake flour (makes it softer, but harder to cut) |
| Full Fat Cream Cheese | Stabilizes frosting | Mascarpone (richer, but less stable) |
| Whole Milk | Adds moisture | Buttermilk (adds tang, may require more BP) |
| Vanilla Bean Paste | Deep flavor/specks | Pure vanilla extract (loses the visual dots) |
Essential Baking Gear
You don't need a professional kitchen, but a few specific tools make the Modern Graduation Monogram Cake look polished.
- 12x17 inch jelly roll pan: This is the standard for a flat, even sheet.
- Parchment paper: Essential. Do not rely on greasing the pan, or the cake will stick.
- Serrated knife: A smooth blade will crush the sponge. A serrated edge saws through it.
- Piping bag with a round tip: For those precise, uniform frosting dollops.
- Printed letter template: You can find these online or draw them. Don't eyeball the letters.
The Precise Assembly Steps
Let's break this down into phases. Timing is everything here.
Phase 1: Baking the Foundation
Preheat your oven to 350°F (175°C) and line your 12x17 inch jelly roll pan with parchment paper. Cream the softened butter and granulated sugar until the mixture looks pale and fluffy. Mix in the eggs one by one, then stir in the vanilla extract.
Now, alternate adding your dry ingredients (flour, baking powder, salt) and the whole milk. Mix on low speed. Stop the moment you don't see any more flour streaks. Spread the batter evenly in the pan. Bake for 12-15 mins until the top is golden brown and springs back when touched.
Cool the cake completely. Wrap it in plastic and flash chill in the freezer for 30 minutes. This step is non negotiable if you want clean lines.
Phase 2: The Architectural Cut
Lay your printed template over the chilled cake. Use your serrated knife to cut the monogram shape. Use a sawing motion rather than pressing down. Since the cake is chilled, the crumbs will stay put.
Phase 3: Assembly & Stabilization
Beat the chilled cream cheese and 65°F butter together. Slowly add the powdered sugar, vanilla bean paste, and salt. Beat until the mixture is smooth and velvety.
Place your first cake layer on the serving platter. Pipe small, consistent dollops of frosting across the surface. Ensure they are spaced evenly so the next cake layer sits flat. Repeat with the second layer of cake and another layer of frosting dollops.
Phase 4: The Modern Art Topping
The final layer of frosting dollops is your canvas. Pipe them closely together. Garnish these peaks with raspberries, blueberries, mini macarons, and fresh mint leaves.
Chef Note: If you're using heavy berries, place them on the larger frosting dollops to prevent them from sinking into the sponge.
Fixing Common Errors
Even with a plan, things happen. Usually, it's a temperature issue.
Troubleshooting Common Issues
| Issue | Solution |
|---|---|
| Cake crumbling | If the sponge tears while you're cutting the letters, it's almost always because the cake wasn't cold enough. The fats in the butter need to be solid to hold the crumb together. |
| Why did my frosting separate | This happens when the butter and cream cheese are at wildly different temperatures. If one is frozen and the other is melted, they won't emulsify. |
| Why are the letters leaning | This is usually due to "frosting slide." If the frosting is too soft, the weight of the second layer pushes it outward. |
Twists and Ingredient Swaps
You can easily adapt this Modern Graduation Monogram Cake to fit the graduate's personality.
For the Modern Graduation Monogram Cake for girl, I suggest using a light lemon infused sponge. Swap the vanilla extract in the cake for lemon zest and a tablespoon of lemon juice. Use fresh strawberries and edible pansies instead of blueberries and mint for a softer, floral aesthetic.
For a Simple Graduation Cake for boy, stick to the vanilla base but swap the berries for dark chocolate shavings and chunks of fudge brownie. Use a deep blue or gold frosting by adding a drop of gel food coloring to the cream cheese mixture.
If you find this too complex, you might prefer a traditional graduation cake which uses a standard round format.
Dietary adaptations: - gluten-free: Use a 1:1 GF flour blend. Note: The crumb will be more fragile, so increase the freezer chill time to 60 minutes. - Vegan: Use vegan butter and a cashew based cream cheese.
The stability will be lower, so I recommend a thinner cake with only one layer of frosting.
Mini Monograms: If you're making a smaller version, reduce the recipe by half and use a 9x13 pan. Reduce the bake time to 10-12 minutes.
Storage and Leftovers
Since this cake uses cream cheese and fresh fruit, it cannot sit out at room temperature for long.
Fridge Storage: Keep the cake in a cardboard cake box or a large airtight container. It stays fresh for 3-4 days. The sponge actually gets a bit moister on day two as the frosting hydrates the cake.
Freezing: You can freeze the un frosted cake layers. Wrap them tightly in plastic and foil for up to 2 months. Thaw in the fridge overnight before assembling. Do not freeze the finished cake with fresh berries, as the fruit will turn to mush upon thawing.
Zero Waste Tips: Don't throw away the cake scraps from the monogram cut! Crumble them into a bowl, mix with a spoonful of the leftover frosting and some berries, and you've got a quick cake trifle for yourself.
The Best Pairings
A Modern Graduation Monogram Cake is rich and sweet, so you need something to cut through that density.
I love serving this with a tart raspberry coulis or a side of fresh sliced melon. For a drink, a sparkling elderflower pressé or a cold brew coffee balances the cream cheese tang perfectly.
If you're planning a full dessert spread, these graduation cap cupcakes make a great companion because they're easier for guests to grab while mingling.
Decision Shortcut:
- Want a "Wow" factor? Use the mini macarons and gold leaf.
- In a rush? Skip the double layer and make a single layer monogram.
- Need it to last all day? Use a stabilized whipped cream frosting instead of cream cheese.
This Modern Graduation Monogram Cake is all about the balance between precision and art. Once you get the temperature of your butter and the chill of your sponge right, the rest is just decorating.
Trust the numbers, keep your ingredients cool, and you'll have a centerpiece that stays standing until the last slice is gone.
Recipe FAQs
Why is my cake crumbling while I cut the letters?
The cake wasn't cold enough. The fats in the butter must be solid to hold the crumb together, so ensure you flash chill the cake in the freezer for 30 minutes before cutting.
Why did my frosting separate?
The butter and cream cheese were at different temperatures. If one is frozen and the other is melted, they will not emulsify into a smooth consistency.
Why are the letters leaning?
The frosting is too soft. This leads to "frosting slide," where the weight of the second cake layer pushes the frosting outward.
How to store a monogram cake with fresh fruit?
Keep it in an airtight container in the fridge. It stays fresh for 3-4 days, and the sponge actually becomes moister on day two as the frosting hydrates the cake.
Is it true that I can freeze the finished cake with the berries?
No, this is a common misconception. While you can freeze unfrosted layers, freezing the finished cake will turn the fresh raspberries and blueberries into mush upon thawing.
How to prepare the pan to prevent sticking?
Line a 12x17 inch jelly roll pan with parchment paper. This ensures the sponge releases perfectly after baking at 350°F for 12-15 minutes.
What is the secret to the velvety frosting texture?
Beat chilled cream cheese and softened butter together until completely smooth. If you enjoyed the precision of this creamy emulsion, you can apply similar logic to our no bake cheesecake for a similarly luxurious result.
Modern Graduation Monogram Cake