Party Dessert Table Brownies: Fudgy and Rich
- Time:15 minutes active + 35 minutes baking
- Flavor/Texture Hook: Fudgy center with a toasted, nutty brown butter finish
- Perfect for: Large gatherings, dessert platters, or birthday celebrations
- Make-ahead: Bake up to 3 days early and store airtight
The smell of butter browning in a saucepan is a specific kind of magic. It starts as a quiet sizzle, then turns into a foaming froth, and finally settles into a deep, toasted aroma that fills the whole kitchen.
When that nutty scent hits, you know the brownies are going to have a depth that regular melted butter just can't touch.
I used to just melt everything together, but the result was often too heavy or lacked that distinct "bakery" finish. I shifted to a method that focuses on aeration and temperature. This ensures the Party Dessert Table Brownies hold their shape on a platter while staying fudgy in the middle.
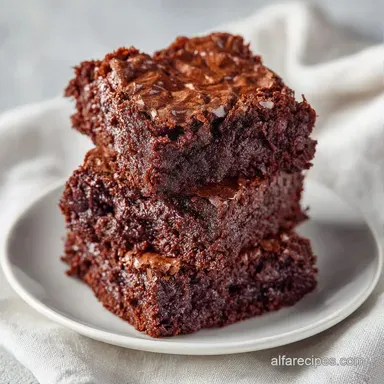
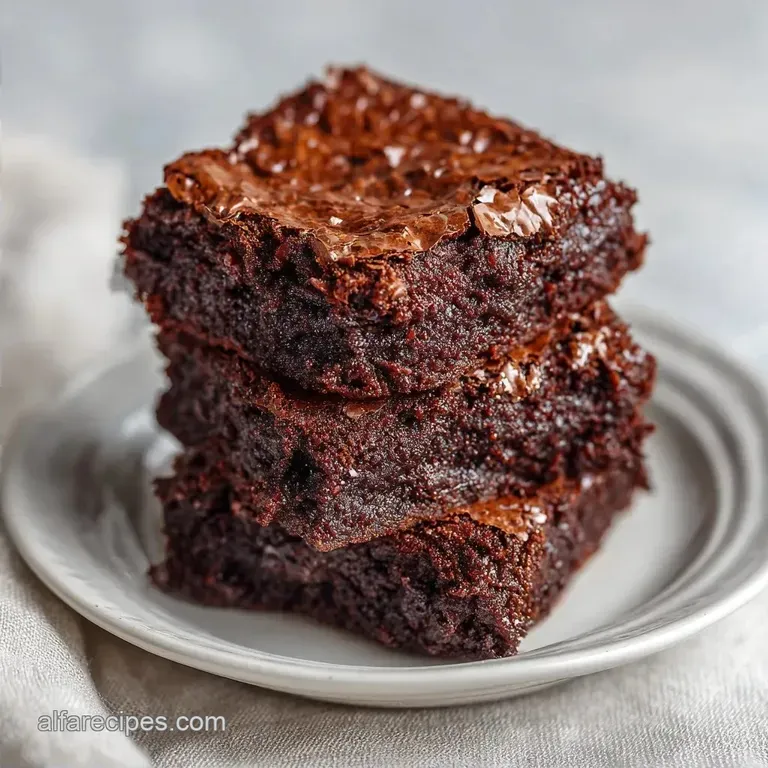
Expect a treat that is dense, rich, and has a glossy, paper thin crust. These aren't cake like; they're heavy on the chocolate and designed to be cut into small, precise squares that look clean on a serving tray.
Party Dessert Table Brownies
Precise ratios of fat to flour are the reason these stay chewy. Most home cooks add too much flour, which activates gluten and creates a bread like crumb. By keeping the flour low, we ensure a dense, fudgy result.
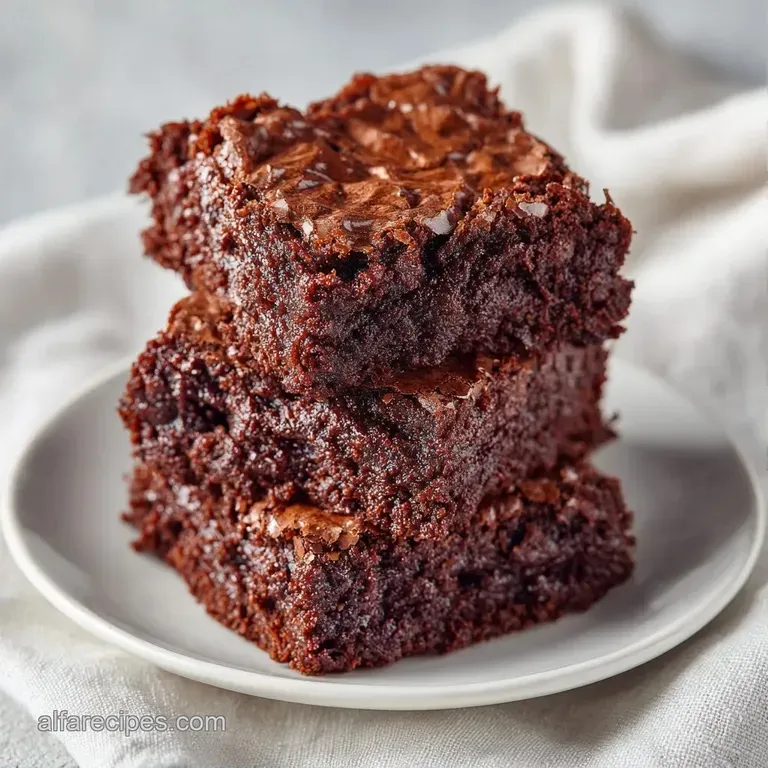
Egg Aeration: Whisking sugar and eggs for several minutes creates a stable foam. This foam traps air, which rises to the top during baking to form that coveted crackly skin.
Fat Saturation: Using both melted chocolate and browned butter provides two types of richness. The butter adds a toasted note, while the semi sweet chocolate provides structure that prevents the brownie from collapsing.
| Method | Prep Time | Texture | Best For |
|---|---|---|---|
| Quick Mix | 5 minutes | Cakey/Soft | Casual snacks |
| Aerated Method | 15 minutes | Fudgy/Dense | Dessert platters |
Precise Baking Techniques
The way you handle the eggs changes everything. If you just stir them in, you get a flat top. By whisking the sugar and eggs vigorously, you create a meringue like structure. This is what gives the top its shine.
Browning the butter is another non negotiable. You aren't just melting it; you're cooking the milk solids until they toast. This adds a savory complexity that balances the sugar. According to King Arthur Baking, the way you incorporate fats affects the final crumb and flavor profile.
Finally, the folding process must be gentle. Once the cocoa and flour go in, stop stirring the second the streaks disappear. Overmixing develops gluten, which turns a fudgy brownie into a chocolate cake.
Recipe Specs
To get consistent results, you need to stick to the numbers. These brownies are designed for a 9x9 inch pan to ensure the depth is exactly right. A larger pan will make them too thin and likely lead to overbaking.
The bake time is a tight window. At 35 minutes, the edges should be set and slightly pulling away from the parchment, but the center needs to jiggle slightly. If the center is firm in the oven, they'll be overdone by the time they cool.
Ingredient Deep Dive
| Ingredient | What It Does | Best Swap |
|---|---|---|
| Unsalted Butter | Provides fat and toasted flavor | Coconut oil (adds slight coconut taste) |
| Granulated Sugar | Sweetens and creates the crackly top | Brown sugar (makes them chewier/moister) |
| Semi Sweet Chocolate | Adds structure and deep cocoa notes | Dark chocolate (increases bitterness) |
| All Purpose Flour | Provides minimal structure | Almond flour (denser, grainier texture) |
Necessary Kitchen Tools
You'll need a 9x9 inch baking pan and parchment paper. The paper is essential because these are sticky and will tear if you try to grease the pan with just butter.
A whisk and a large bowl are needed for the aeration phase. I prefer using a stand mixer such as a KitchenAid for the egg sugar whisking to save my arms, but a hand whisk works if you have the energy. A fine mesh sieve is also important for the cocoa powder to prevent clumps.
Step-by-step Assembly
Phase 1: Prepping and Melting
- Preheat your oven to 350°F (175°C) and line a 9x9 inch pan with parchment paper, leaving an overhang on the sides.
- Melt 1 cup (225g) unsalted butter in a saucepan over medium heat. Cook until it foams and smells nutty, then remove it from the heat immediately.
- Stir 6 oz (170g) chopped semi sweet chocolate into the hot butter. Stir until smooth and let it cool slightly.
Phase 2: The Aeration Process
- In a large bowl, whisk 1 ½ cups (300g) granulated sugar and 3 large eggs vigorously. Do this for 3-5 minutes until the mix is pale yellow and fluffy.
- Stir 1 tsp (5ml) vanilla extract into the egg mixture.
- Slowly pour the chocolate butter mixture into the eggs. Use a spatula to stir until combined.
Phase 3: Folding and Baking
- Sift in ¾ cup (65g) cocoa powder, ½ cup (60g) all purpose flour, and ½ tsp (3g) sea salt. Fold gently until no flour streaks remain.
- Pour the batter into the pan and smooth the top.
- Bake for 30-35 minutes until edges are set but the center has a slight jiggle.
Chef's Note: Let these cool completely in the pan before lifting them out with the parchment. Cutting them while hot results in messy edges.
Solving Common Failures
If your brownies come out cakey, you likely overbaked them or used too much flour. Precision is key here. Using a kitchen scale is the most reliable way to ensure you aren't accidentally adding an extra tablespoon of flour.
The absence of a crackly top usually means the eggs and sugar weren't whisked long enough. That foam is the only thing that creates the thin crust. Without it, the top stays matte and dull.
Why Your Brownies are Cakey
The most common cause is overbaking or too much aeration during the folding stage.
| Problem | Root Cause | Solution |
|---|---|---|
| Cakey Texture | Overbaked or too much flour | Remove 5 mins earlier; weigh flour |
| No Crackly Top | Under whisked eggs/sugar | Whisk for full 5 mins until pale |
| Greasy Top | Butter too hot when added | Let butter/chocolate cool slightly |
Flavor Swaps and Twists
You can easily modify the base for different party themes. For a Birthday Party Dessert Table Brownies variation, try adding a handful of rainbow sprinkles to the batter at the very end.
If you want to turn these into "Brownie Bites", use a mini muffin tin. Reduce the baking time to about 18-22 minutes. For those who prefer something a bit more indulgent, a peanut butter swirl works well. Just microwave 1/4 cup of peanut butter for 20 seconds and dollop it on top before baking.
| Original Ingredient | Substitute | Why It Works |
|---|---|---|
| Semi Sweet Chocolate | 70% Dark Chocolate | Higher cocoa content. Note: More bitter, less sweet |
| All Purpose Flour | gluten-free Blend | 1:1 ratio works. Note: Slightly more fragile crumb |
| Granulated Sugar | Coconut Sugar | Lower glycemic index. Note: Deeper, caramel flavor |
Since these are often served on a platter, you can top them with a drizzle of melted white chocolate or a sprinkle of flaky sea salt. If you're building a larger spread, these pair well with Graduation Dessert Table Cupcakes recipe for variety in height and flavor.
Storage and Freshness
Store these in an airtight container at room temperature for up to 3 days. If you want them even fudgier, keep them in the fridge. Cold brownies have a denser, almost truffle like consistency that many people prefer.
For long term storage, freeze the squares individually wrapped in plastic wrap for up to 3 months. Thaw them in the fridge overnight or microwave for 10 seconds for a quick treat.
To avoid waste, save any leftover chocolate scraps from the chopping process. Melt them down with a bit of cream to make a ganache for dipping fruit.
Serving Suggestions
When arranging a Brownie Platter, contrast is everything. Since the brownies are dark and rich, pair them with bright colors. Fresh raspberries or sliced strawberries cut through the fat and add a visual pop.
For a more complex spread, I recommend adding Caramel Apple Pretzel Bites to the table. The salty sweet crunch of the pretzels balances the density of the Party Dessert Table Brownies.
For drinks, a cold glass of almond milk or a sharp espresso works best. The bitterness of the coffee complements the cocoa, while the milk cleanses the palate between bites. If you're serving these at a party, arrange them in a staggered grid on a slate board and dust the whole thing with a light coating of powdered sugar.
Recipe FAQs
How to display brownies for a party?
Arrange them on a tiered platter or a slate board. Garnish with a dusting of powdered sugar or fresh fruit to add visual contrast and height to your dessert table.
What desserts to have on a dessert table?
Mix textures and flavors for variety. Pair these rich brownies with something light and creamy, such as vanilla cherry ice cream, to balance the intense chocolate.
How far ahead can I make brownies for a party?
Bake them up to 3 days in advance. Keep them in an airtight container at room temperature, or freeze individually wrapped squares for up to 3 months.
How to get perfectly clean squares when cutting?
Chill the brownies in the fridge before slicing. Use a sharp knife and wipe the blade clean with a damp cloth between each cut to ensure professional edges.
Is it true I should grease the pan if I am using parchment paper?
No, this is a common misconception. Parchment paper with an overhang provides a non-stick surface and allows you to lift the entire block out of the pan easily.
How to avoid overbaking the center?
Remove the pan when the edges are set but the center has a slight jiggle. The brownies will continue to firm up as they cool, preserving the fudgy consistency.
Do I need to whisk the eggs and sugar for a specific amount of time?
Yes, whisk vigorously for 3-5 minutes. This incorporates air to create a pale, fluffy mixture, which is essential for the final texture of the brownie.
Party Dessert Table Brownies