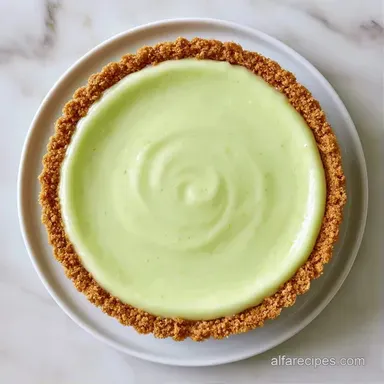
No Bake Key Lime Pie with Condensed Milk
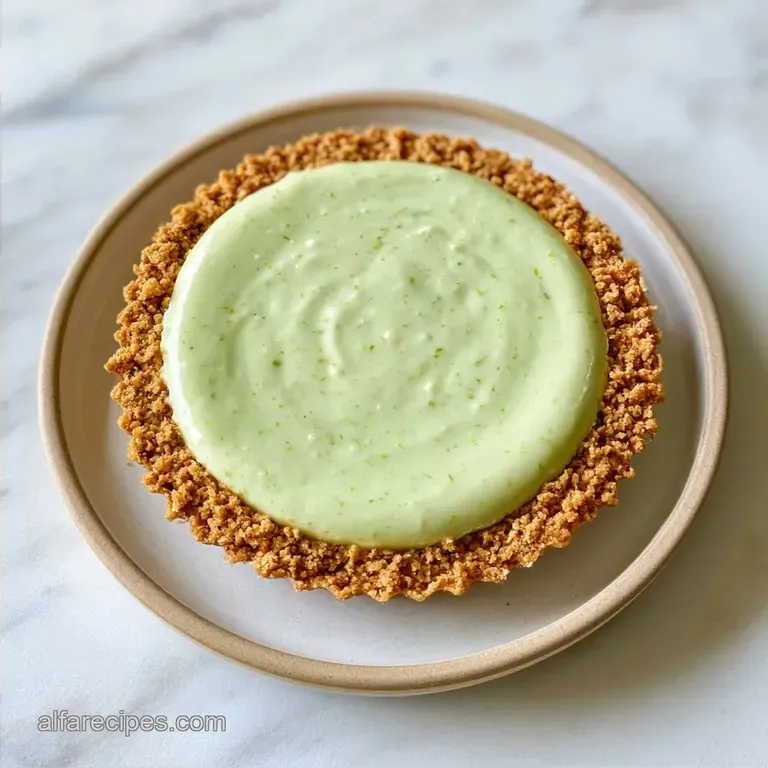
- Prep: 20 min active + 4 hours in fridge
- Profile: Tangy, zesty, and creamy
- Ideal for: Easy summer gatherings
Just the scent of fresh lime zest in a mixing bowl is enough to spark a craving. That bright, citrusy zing provides a necessary contrast to the rich, creamy filling. For a long time, I noticed many recipes that felt more like lime pudding than an actual pie, usually due to the use of gelatin or heat.
The issue with those rubbery interpretations is the mouthfeel; gelatin strips away that effortless, melt-in-your mouth quality. I wanted to recreate a classic Florida style dessert without dealing with the anxiety of cracked custards or water baths.
This No Bake Key Lime Pie leverages the natural reaction between acid and dairy. The result is a dense, easily sliceable dessert that feels like a tropical getaway. It's a foolproof method for achieving that iconic tartness without the uncertainty.
No Bake Key Lime Pie
Citrus Acidity: The citric acid in the lime juice reacts with the proteins in the cream cheese and condensed milk, causing them to tighten and set without heat.
Fat Ratios: High fat dairy provides the structural backbone that keeps the pie from slumping, which is why full fat ingredients are non negotiable here.
| Method | Time | Texture | Best For |
|---|---|---|---|
| No Bake | 20 min active | Creamy & Dense | Quick prep, hot weather |
| Baked | 1 hour 15 min | Custard like | Traditionalists, deep flavor |
What Each Ingredient Does
The base of this pie is the graham cracker crust. The butter binds the crumbs, and a touch of sugar helps it crisp up in the freezer. Without the sugar, the crust can taste a bit flat against the tart filling.
For the filling, the cream cheese acts as the stabilizer. It gives the pie body and prevents it from turning into a sauce. Sweetened condensed milk provides the sweetness and a thick, syrupy texture that blends well with the lime. According to USDA FoodData, the high sugar and milk solid content in condensed milk is what creates that rich mouthfeel.
Finally, the fresh key lime juice is the engine of the recipe. It provides the flavor and the chemical reaction needed for the set. I always use fresh juice because bottled versions lack the brightness and the correct pH level to set the proteins properly, as noted in citrus studies by Serious Eats.
The Exact Recipe Specs
- 1.5 cups (150g) graham cracker crumbs Why this? Provides a salty, crunchy contrast to the lime (Substitute: Digestive biscuits)
- 6 tbsp (85g) unsalted butter, melted Why this? Binds the crust together (Substitute: Coconut oil)
- 2 tbsp (25g) granulated sugar Why this? Enhances the buttery flavor (Substitute: Maple syrup)
- 8 oz (225g) full fat cream cheese, softened Why this? Essential for the structural set (Substitute: Mascarpone)
- 1 can (14 oz / 397g) sweetened condensed milk Why this? Adds sweetness and density (Substitute: Evaporated milk + sugar)
- 1/2 cup (120ml) fresh key lime juice Why this? Triggers the setting reaction (Substitute: Regular lime juice)
- 1 tbsp (6g) lime zest, finely grated Why this? Concentrates the citrus aroma (Substitute: Lemon zest)
- 1/4 tsp (1.5g) salt Why this? Balances the sugar (Substitute: Fine sea salt)
Required Kitchen Tools
Prepare a 9 inch springform pan or a standard pie dish. For a cleaner release that prevents the pie from breaking, the springform pan is the better option.
A powered mixer is essential for this recipe, as beating the cream cheese by hand rarely results in a lump free texture. You will also need a rubber spatula for scraping the bowl and a measuring cup to press the crust.
Step by step Process
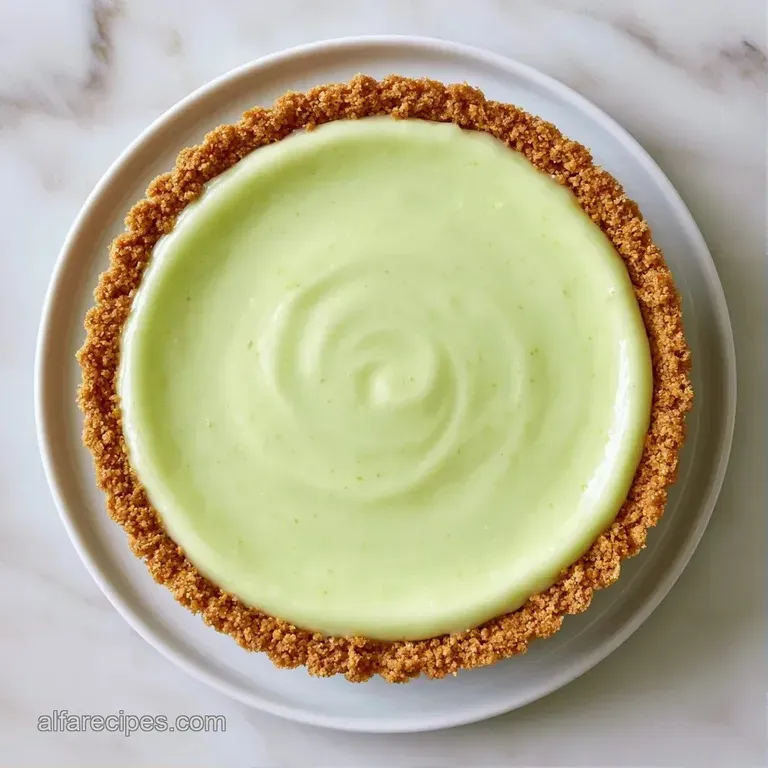
- Mix the melted butter, sugar, and graham cracker crumbs together in a bowl. Stir until the texture resembles wet sand.
- Use the back of a measuring cup to pack the mixture firmly against the base and edges of a 9 inch springform pan.
- Chill the crust in the freezer for 10 minutes to set. Note: This keeps the crust from crumbling when you slice the pie.
- With an electric mixer, beat the room temperature cream cheese until it is completely smooth and lump free.
- While mixing on medium speed, gradually add the sweetened condensed milk until combined.
- Stir in the salt and lime zest.
- Slowly pour in the key lime juice, mixing until the filling thickens and reaches a consistent, pale yellow hue. Note: You will notice it thicken within 30 seconds of adding the juice.
- Transfer the filling into the chilled crust and level the top with a spatula.
- Cover with plastic wrap and refrigerate for at least 4 hours (or overnight) until the center feels firm to a light touch.
Preventing Filling Failures
If the filling doesn't set, it's usually a result of the dairy choice. Using low-fat cream cheese or a "light" condensed milk removes the fats that hold the structure together. Once the filling is mixed, you can't really "fix" the set, but you can freeze it for 2 hours to force a firmer texture.
Another common issue is the temperature of the cream cheese. If it's too cold, it won't incorporate with the milk, leaving you with tiny white dots of cheese throughout the pie. Always let it sit on the counter for an hour before starting.
Filling Too Runny
This happens when there isn't enough acid or the fat content is too low. Use fresh lime juice and full fat dairy.
Crust Crumbling
The crust usually crumbles if the butter wasn't fully melted or if it wasn't pressed hard enough. Use a flat bottomed cup to pack it down.
Lumps in Filling
Lumps occur when the cream cheese isn't beaten enough before adding the milk. Beat the cheese alone first.
| Problem | Fix |
|---|---|
| Runny center | Chill for 6+ hours or freeze 2 hours |
| Lumpy texture | Beat cream cheese before adding other ingredients |
| Soggy crust | Freeze crust 10 mins before filling |
Storage and Waste Tips
Store your slices in the refrigerator for up to 3 days. Keep the pie covered with plastic wrap or in an airtight container to prevent it from absorbing other smells from the fridge.
If you want to freeze it, this pie lasts about 2 months. I recommend freezing it without the toppings. Thaw it in the fridge overnight before serving to keep the texture velvety and smooth.
To avoid waste, don't toss your lime peels. You can zest them and freeze the zest in a small container for future baking, or simmer the peels in a pot of water with sugar to make a quick citrus syrup for cocktails.
Serving Your Slices
For a classic look, top each slice with a dollop of whipped cream and a thin slice of fresh lime. The white cream against the pale yellow filling looks great. If you want a different way to serve cream, take a look at my Homemade Whipped Cream Pie for some topping inspiration.
I also like adding a sprinkle of crushed graham crackers on top for extra crunch. If you are serving a crowd, slice the pie while it is very cold using a knife dipped in hot water; this gives you those clean, professional looking edges.
Fun Flavor Swaps
For a tropical flair, try folding in 1/2 cup of toasted shredded coconut, which complements the lime beautifully. If you prefer a more indulgent base, a white chocolate crust is a fantastic alternative; simply melt white chocolate with the butter before stirring it into the crumbs.
If you're in the mood for more no-bake treats, you might enjoy my No Bake Fathers Day Cheesecake, which follows a similar chilling process.
To make this dairy-free, substitute vegan cream cheese and coconut condensed milk. Keep in mind that the consistency will be slightly softer, so I suggest chilling the pie for 6 hours instead of 4.
| Goal | What to change |
|---|---|
| More Tartness | Add 2 extra tbsp of lime juice |
| Extra Crunch | Add 1/4 cup chopped macadamia nuts to crust |
| Individual Portions | Use cupcake liners and a piping bag |
You are now all set to create an impressive No Bake Key Lime Pie. Just remember to manage your ingredient temperatures and let the refrigerator do the heavy lifting. The patience pays off for that perfectly creamy, zesty finish. Time to get started!
Recipe FAQs
Can you make key lime pie without baking it?
Yes, you can create a creamy version using cream cheese and sweetened condensed milk. This method removes the need for an oven entirely.
Which is better, baked or no bake key lime pie?
No-bake versions are generally creamier and more refreshing. Baked pies have a denser, custard like texture.
How to make crustless key lime pie?
Omit the graham cracker, butter, and sugar steps. Pour the finished filling into individual ramekins or a lined pan instead.
What are some common mistakes when making key lime pie?
Using cold cream cheese often leads to lumps in the filling. Another error is skipping the minimum four hour chill time, which leaves the center too soft.
Is it true that the pie won't set without gelatin?
Actually, no. The reaction between the acidic key lime juice and the proteins in the sweetened condensed milk thickens the filling naturally.
Why should the crust be frozen before filling?
Freezing firms up the butter and locks the crumbs together. This prevents the crust from crumbling when you slice the pie.
Could I serve this for a large party?
Slicing the pie into thin wedges makes it easy to share. For other crowd pleasing treats, try our graduation sheet cake.
No Bake Key Lime Pie