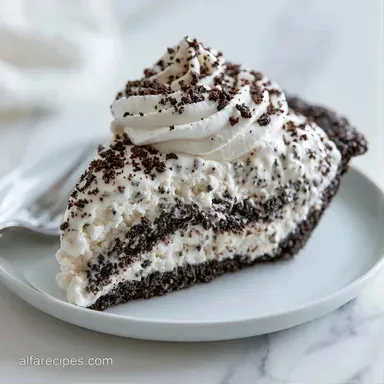
Easy Ice Cream Pie with Oreo Crust
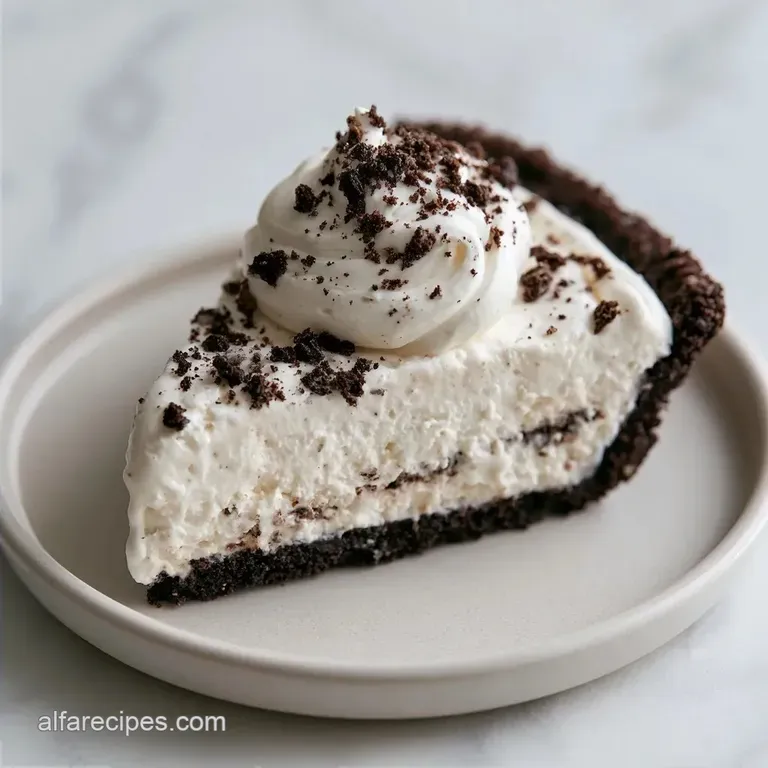
- Time: 15 min active + 6 hrs 13 mins chilling
- Flavor/Texture Hook: Shattering chocolate crust with airy cream
- Perfect for: Summer potlucks or beginner bakers
Texture and Stability Logic
- Fat Barrier: The melted butter coats the cookie crumbs, which stops the ice cream from soaking into the crust.
- Thermal Shock: Freezing the crust for 10 minutes before filling locks the structure so it doesn't crumble.
- Air Incorporation: Folding the topping gently preserves the air bubbles, keeping the top light.
Supplies and Smart Swaps
Ingredient Roles and Logic
| Component | Purpose | Substitute Notes |
|---|---|---|
| Oreo Cookies | Structural Base | Graham crackers: Lighter flavor, less chocolate |
| Unsalted Butter | Binding Agent | Coconut oil: Works well, adds subtle coconut note |
| Premium Ice Cream | Primary Body | Gelato: Denser texture, may need more freeze time |
| Whipped Topping | Aeration/Seal | Heavy cream + sugar: Richer, but less stable |
Needed Ingredients
- 1.5 cups (170g) crushed Oreo cookies Why this? High cocoa content provides a sturdy, dark base
- 5 tbsp (70g) unsalted butter, melted Why this? Ensures the crust binds without tasting greasy
- 1 quart (946ml) premium ice cream, softened slightly Why this? Premium brands have less air, meaning less shrinkage
- 8 oz (225g) whipped topping, thawed slightly Why this? Provides a stable, non melting seal on top
Recipe Quick Specs
For those who need the numbers, this is a high yield dessert. It serves 8 people and requires very little active effort.
| Spec | Detail |
|---|---|
| Total Time | 6 hours 23 mins |
| Active Prep | 15 minutes |
| Setting Time | 6 hours |
| Yield | 8 slices |
Fresh vs Shortcut Comparison
| Feature | Fresh Churned | Shortcut Method |
|---|---|---|
| Effort | High (hours) | Low (15 mins) |
| Texture | Denser/Icy | Smooth/Airy |
| Stability | Variable | Very High |
Required Kitchen Gear
While basic tools work, a few specific items make the assembly process much tidier.
- 9 inch pie plate: Glass or ceramic is preferred for better heat distribution.
- Rubber spatula: Necessary for folding in the topping while keeping it light.
- Offset spatula: Ideal for creating smooth, level edges.
- Measuring cup: Use the flat bottom to pack the crust tightly.
Assembly Steps
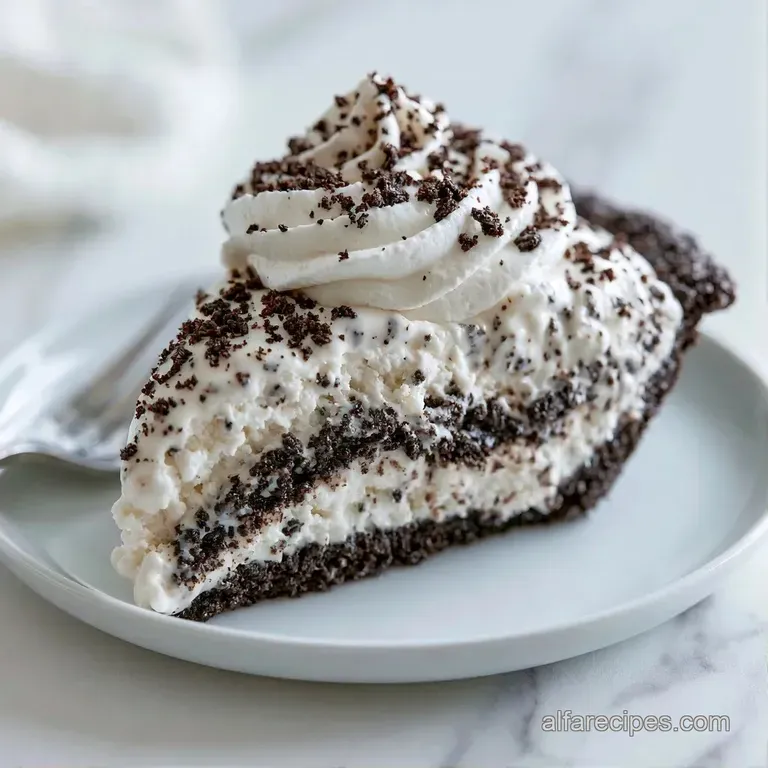
- Mix the cookie crumbs and melted butter in a bowl until the consistency is like wet sand.
- Firmly press the crumbs into a 9 inch pie plate, covering the base and sides. Tip: Use the bottom of a flat cup to press out any air pockets.
- Chill the crust in the freezer for 10 minutes until it is solid to the touch.
- Put the slightly softened ice cream into a large mixing bowl.
- Gently fold the ice cream using a rubber spatula until it is smooth and lacks large ice chunks.
- Scoop the ice cream into the frozen crust.
- Use an offset spatula to level the top, pressing down to remove air pockets.
- Evenly spread the whipped topping over the ice cream, extending it to the crust's edges.
- Wrap the pie securely with plastic wrap.
- Let it freeze for 6 hours until the middle is fully set.
Solving Texture Failures
When things go wrong with frozen pies, it's usually a temperature issue. If your ice cream is too soft when you spread it, you'll lose the distinct layers. If it's too hard, you'll get pockets of air that make the pie collapse when sliced.
Fixing a Crumbling Crust
This usually happens if the butter didn't fully coat the crumbs or if the crust wasn't pressed hard enough. To fix this for next time, ensure your butter is fully melted and use more pressure during the press.
Stopping Ice Crystals
Ice crystals form when moisture enters the pie. This happens if the plastic wrap isn't airtight. Always press the wrap directly onto the whipped topping to remove air.
Preventing the Meltdown
If the pie softens too quickly, it's often because the ice cream was low-fat. According to King Arthur Baking, higher fat content in crusts and fillings helps maintain structure at room temperature.
| Problem | Fix |
|---|---|
| Crust falls apart | Press harder with a flat tool |
| Grainy filling | Fold ice cream more thoroughly |
| Topping melting | Use stabilized whipped topping |
Freezing and Waste Tips
Store this pie in the freezer for up to 2 months. Keep it wrapped tightly in plastic and then foil to prevent freezer burn. If you have leftover cookie crumbs, mix them into your morning yogurt or use them to coat a chocolate cake.
To reheat a slice, don't use a microwave. Instead, let it sit at room temperature for 5 minutes. This allows the edges to soften slightly while the center stays firm.
Pairing and Serving
To balance the richness of this dessert, a bright contrast is essential. Freshly sliced strawberries or a tart raspberry coulis work perfectly to offset the heavy cream.
For perfectly neat portions, dip your knife in hot water before each cut. This ensures a sharp, clean edge through both the crisp crust and the velvety filling. To create a more traditional dessert platter, pair this with a Chess Pie recipe to offer a variety of textures.
Custom Flavor Ideas
Feel free to customize the flavors of this Easy Ice Cream Pie to suit the season. For a refreshing minty treat, use mint chocolate chip ice cream topped with crushed Andes mints.
To achieve a tropical flair, swap in mango sorbet and a graham cracker crust. If you are looking for a lighter option that isn't as frozen, give this Homemade Whipped Cream Pie a try.
Decision Shortcut
- For a firmer set: freeze for 8 hours instead of 6.
- For a softer scoop: leave at room temperature for 5 minutes.
- For a richer crust: stir in 1 tbsp more butter.
Recipe FAQs
Is this a good dessert for beginners?
Yes, it's ideal for novices. Because it requires no oven and minimal prep, it is very hard to mess up. If you enjoyed the simplicity of this no-bake assembly, see how we use similar fast prep logic in our smoothie bowl base.
Can I make this ice cream pie ahead of time?
Yes, it is designed for advance prep. You must freeze the pie for at least 6 hours or overnight to ensure it is firm enough to slice cleanly.
Would this pie work as a Father's Day treat?
Yes, it's a crowd pleasing option. The combination of chocolate Oreo crust and cream is a classic flavor profile that appeals to most palates.
Does this dessert work for Valentine's Day?
Yes, it makes a romantic centerpiece. The rich dark base and smooth whipped topping provide an elegant presentation for a special evening.
Is it true that you need an oven to set the crust?
Not true. Freezing the butter bound Oreo crumbs for 10 minutes locks the structure and creates a sturdy base without using heat.
How to prevent air gaps in the ice cream layer?
Spoon the ice cream into the chilled crust and press firmly with an offset spatula. This eliminates air pockets and creates a dense, professional slice.
Easy Ice Cream Pie