High School Graduation Cupcakes: Vanilla and Chocolate
- Time: 30 min active + 138 min cooling/decorating
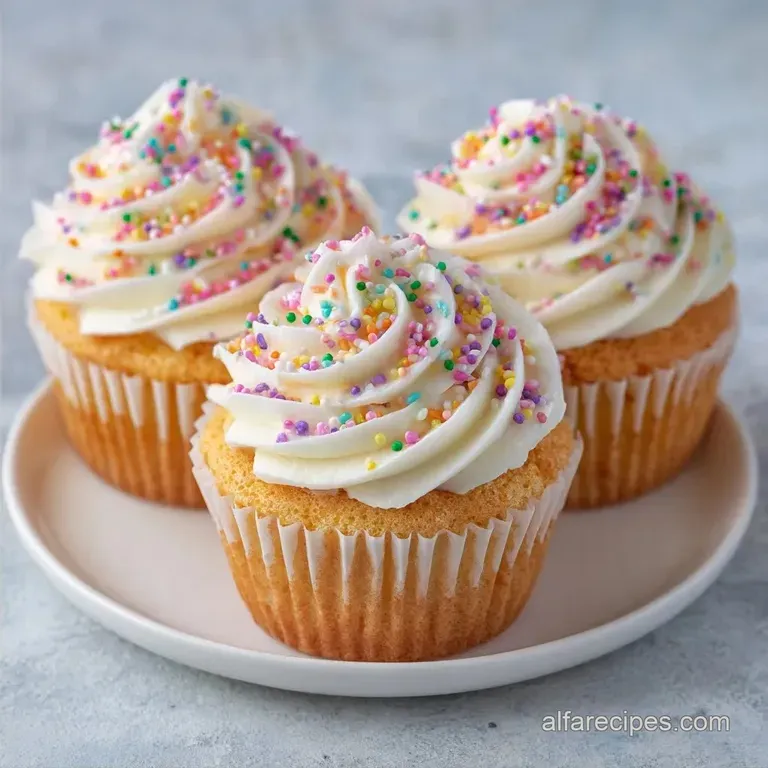
- Flavor/Texture Hook: Buttery vanilla cake with a snappy chocolate cap
- Perfect for: Graduation parties, dessert tables, and DIY gifting
The smell of warm vanilla and melting chocolate always takes me back to the chaotic energy of graduation season. I remember the first time I tried making a "cap" cake for a family member. I didn't slice the tops off the cupcakes, and within an hour, half the chocolate caps had slid right off the domed cakes.
They looked like they'd had one too many celebratory drinks.
That's when I realized that the architecture of the cake matters as much as the flavor. For these High School Graduation Cupcakes, we aren't just baking; we're building. The goal is a stable, flat foundation that can support a heavy chocolate topper without leaning.
You can expect a classic, buttery vanilla base that stays moist, topped with a structural buttercream and a DIY chocolate cap. It's a thoughtful touch that looks high end but relies on basic home baking techniques.
Other Recipe Failures
Most people treat these like standard cupcakes and just pile frosting on top. The problem is that a standard cupcake dome is a slide. When you place a flat piece of chocolate on a curve, gravity wins every time. By slicing the tops off, we create a structural platform.
Room Temp Butter: Beating softened butter with sugar traps tiny air bubbles. This creates a lighter crumb that doesn't feel like a dense brick.
The Flat Surface: Using a serrated knife to remove the dome creates a level base. This ensures the "graduation cap" stays centered and secure.
| Method | Time | Texture | Best For |
|---|---|---|---|
| Box Mix | 45 mins | Spongy | Last minute rush |
| Scratch Bake | 168 mins | Rich & Tender | Special celebrations |
The Recipe Details
Since we're doing this from scratch, precision is key. If you enjoy the process of working with dough and precise measurements, you'll love this. It's similar to the patience needed for a Homemade Bagel recipe, where the small details dictate the final chew and rise.
For these High School Graduation Cupcakes, we focus on a specific ratio of fats to flour to ensure the cake is sturdy enough to handle the toppings but still melts in your mouth.
Ingredients and Swaps
What Each Ingredient Does
| Ingredient | What It Does | Best Swap |
|---|---|---|
| All Purpose Flour | Provides the main structure | Cake flour (for a finer crumb) |
| Baking Powder | Creates the lift and air | Baking soda + cream of tartar |
| Unsalted Butter | Adds richness and tenderness | Vegetable shortening (less flavor) |
| Powdered Sugar | Stabilizes the frosting | Cornstarch based icing sugar |
Full Ingredient List
For the Cake:
- 1.5 cups (190g) all purpose flourWhy this? Balanced protein for a sturdy cake
- 1 cup (200g) granulated sugar
- 1.5 tsp (7g) baking powder
- 0.5 tsp (3g) salt
- 0.5 cup (115g) unsalted butter, softenedWhy this? Essential for the creaming method
- 1 large egg (50g)
- 0.75 cup (180ml) whole milk
- 2 tsp (10ml) pure vanilla extract
For the Buttercream:
- 1 cup (225g) unsalted butter, softened
- 3.5 cups (420g) powdered sugar, sifted
- 2 tbsp (30ml) heavy creamWhy this? Adjusts the consistency
- 1 tsp (5ml) vanilla extract
For the Caps: - 6 oz (170g) semi sweet chocolate melting wafers - 2 oz (55g) white chocolate melting wafers
Required Kitchen Tools
You don't need a professional bakery, but a few specific tools make this easier. A stand mixer such as a KitchenAid helps get the butter and sugar truly pale and fluffy. If you're working by hand, a hand mixer is fine, just be prepared for a bit more arm work.
You'll also need a 12 slot cupcake pan, parchment liners, and a serrated knife for the leveling process. For the chocolate caps, a piece of parchment paper and a ruler (or a circular cookie cutter) help keep the shapes consistent.
Baking and Decorating Steps
Phase 1: Baking the Foundation
- Preheat your oven to 350°F (175°C) and line your pan with liners.
- Beat the butter and sugar until pale and fluffy. Add the egg and vanilla, mixing until combined.
- Gradually add the flour, baking powder, and salt, alternating with the milk. Mix until just combined; do not over mix. Note: Over mixing develops too much gluten, making the cake tough.
- Fill liners 2/3 full and bake for 18-20 minutes. They are done when a toothpick inserted in the center comes out clean and the tops spring back.
- Let them cool completely on a wire rack. Note: Frosting a warm cake leads to a melted mess.
Phase 2: Crafting the Edible Caps
- Melt the semi sweet chocolate wafers in the microwave in 30 second bursts until smooth and glossy.
- Spread the chocolate thinly onto parchment paper to create squares. Use a ruler to ensure they are slightly wider than your cupcakes.
- Melt the white chocolate and pipe a small square or "tassel" onto the dark chocolate squares.
- Let the chocolate set in the fridge for 10 mins until firm to the touch.
Phase 3: Assembly and Finishing
- Use a serrated knife to gently slice off the domed top of each cupcake to create a flat surface.
- Pipe a generous swirl of the silky buttercream onto the flat surface. Note: The buttercream acts as the "glue" for the cap.
- Gently press a chocolate cap onto the frosting.
Fixing Common Problems

Troubleshooting Common Issues
| Issue | Solution |
|---|---|
| Why Your Cakes Sank | This usually happens if the oven door is opened too early or if the baking powder is expired. When the structure hasn't set, the rush of cold air collapses the air bubbles. |
| Why Frosting is Runny | Buttercream is sensitive to heat. If your kitchen is too warm, the butter softens too much, and the frosting slides. |
| Why Caps Crack | Chocolate that is overheated becomes brittle. If you microwave the wafers for too long without stirring, they lose their elasticity. |
Creative Flavor Ideas
If you want to deviate from vanilla, these High School Graduation Cupcakes are very adaptable. For a "School Spirit" twist, add a drop of food coloring to the batter to match the graduation colors.
For a lighter profile, you can substitute the whole milk with almond milk. It changes the flavor slightly but maintains the moisture. If you have gluten-free guests, a 1:1 gluten-free flour blend works, though the cupcakes may be slightly denser.
If you're planning a larger event, you might want to pair these with a Graduation Sheet Cake to ensure there's enough for everyone.
Decision Shortcut
- If you want a richer taste, use European style butter with higher fat content.
- If you want a softer cap, use real chocolate bars instead of wafers, but add a teaspoon of coconut oil.
- If you're short on time, skip the handmade caps and use small square chocolate pieces.
Scaling the Batch
Making a Smaller Batch
To make 6 cupcakes, half all ingredients. For the egg, beat one egg in a small bowl and use exactly 25g. Use a smaller pan or leave gaps between the liners to ensure even heat flow. Reduce bake time by about 20% and start checking at 14 minutes.
Doubling for a Crowd
When making 24 or more High School Graduation Cupcakes, work in batches. Do not overfill your mixer, as it won't incorporate the air properly. I recommend increasing salt and vanilla to only 1.5x rather than 2x to keep the flavors balanced.
If baking multiple trays at once, lower the oven temp to 325°F and extend the time by 5 mins to account for the crowded oven.
Debunking Baking Myths
The "Searing" Myth for Cakes: Some people think "searing" the edges of a cake in a pan helps it rise. This is nonsense. Rising is entirely about the interaction between leavening agents and heat.
The Cold Egg Myth: You'll hear that eggs must be cold for some reason. Actually, room temperature eggs emulsify better with the butter and sugar, preventing the batter from curdling.
Storage and Waste Tips
Keep these High School Graduation Cupcakes in an airtight container in the fridge for up to 3 days. Because of the buttercream and chocolate, they hold up well. If you need to freeze them, freeze the cakes without frosting for up to 3 months. Thaw them in the fridge overnight before decorating.
To avoid waste, don't throw away the "domes" you sliced off. These are great for making cake pops or simply snacking on while you decorate. Any leftover buttercream can be frozen in small dollops for a quick treat later.
The Best Pairings
These cupcakes are quite sweet, so they go well with something acidic or bitter. A strong cold brew coffee or a tart raspberry coulis on the side balances the sugar.
If you're serving these as part of a dessert spread, a fresh fruit platter with berries and melon provides a nice contrast to the rich chocolate and butter. Since these are for a celebration, keeping the other treats light makes the cupcakes the star of the show.
Recipe FAQs
How many cupcakes should I get for a graduation party?
Plan for 1.5 to 2 cupcakes per guest. This ensures enough for those who want seconds without creating excessive waste.
How to make graduation cupcakes?
Preheat your oven to 350°F (175°C) and cream the butter and sugar. Mix in egg and vanilla, then alternate adding dry ingredients with milk before baking for 18-20 minutes.
Why did my cupcakes sink in the middle?
This usually happens if the oven door is opened too early. A rush of cold air can collapse the air bubbles before the structure has set, or your baking powder may be expired.
Why is my buttercream frosting runny?
The butter has likely softened too much due to room temperature. Buttercream is sensitive to heat; if you enjoyed mastering the stable emulsion here, see how the same principle works in our Thai peanut sauce.
How to prevent the chocolate graduation caps from cracking?
Avoid overheating the chocolate melting wafers. Stir frequently during microwaving to ensure the chocolate doesn't lose elasticity and become brittle.
How long can I store these cupcakes in the fridge?
Keep them in an airtight container for up to 3 days. The buttercream and chocolate allow them to hold up well in cold storage.
Can I freeze these cupcakes for later?
Yes, but only if they are unfrosted. Freeze the cakes for up to 3 months and thaw them in the fridge overnight before decorating.
High School Graduation Cupcakes

