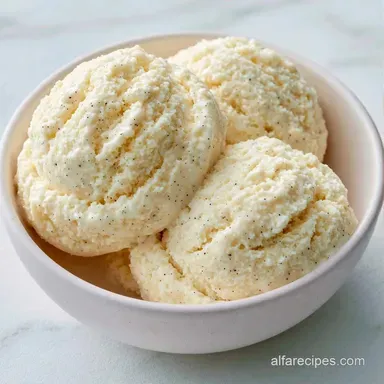
Creamy Homemade Vanilla Ice Cream
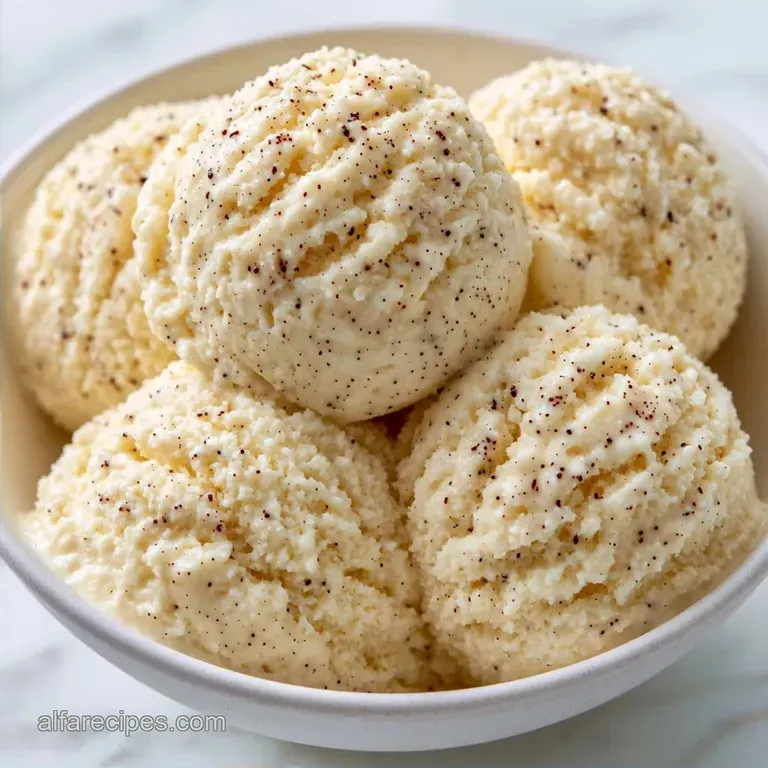
- Time: 15 min active + 6 hrs chilling
- Flavor/Texture Hook: Dense, smooth, and aromatic
- Perfect for: Summer desserts or a simple treat
Making a Better Vanilla Ice Cream
The scent of pure vanilla hitting cold cream is one of the best smells in the kitchen. Most people think you need a professional machine or a chemistry degree to avoid those annoying ice crystals. They assume "homemade" always means "icy." That is simply not true.
You don't need a fancy setup to get a professional result. The trick is actually in the temperature and the fat. If you rush the chilling process, you get a frozen block. If you get the ratio of cream to milk right, you get something that melts slowly and feels rich on the tongue.
This Vanilla Ice Cream is about precision. We are focusing on how the sugar dissolves and how the air gets trapped during the churn. It is a straightforward process, but you have to follow the timing to ensure it doesn't turn into a popsicle.
Nailing the Texture
The Fat Balance: Using both heavy cream and whole milk prevents the scoop from feeling too buttery while keeping it dense. Deep Chilling: A cold base freezes faster, which according to Serious Eats, prevents large ice crystals from forming.
| Method | Time | Texture | Best For |
|---|---|---|---|
| Machine | 25 mins | Smooth | Classic feel |
| No Machine | 4 hours | Denser | Quick cravings |
What You'll Need
| Ingredient | What It Does | Best Swap |
|---|---|---|
| Heavy Cream | Adds richness | Mascarpone (thinned) |
| Whole Milk | Balances fat | Full fat coconut milk |
| Sugar | Lowers freeze point | Maple syrup |
| Vanilla Extract | Primary flavor | Vanilla bean paste |
- 2 cups heavy cream, chilled Why this? High fat prevents iciness
- 1 cup whole milk, chilled Why this? Keeps the texture pourable
- 3/4 cup granulated sugar Why this? Standard sweetness and stability
- 1/4 tsp fine sea salt Why this? Brightens the vanilla notes
- 1 tbsp pure vanilla extract Why this? Deep, aromatic flavor
Recipe Specs
Right then, let's look at the numbers. This makes about 1.5 quarts, which is plenty for a small group. Trust me, don't try to skip the chilling time, or you will just be churning warm milk.
- Yield: 6 servings
- Prep time: 15 minutes
- Cook time: 0 minutes
- Total time: 6 hours 15 mins
| Goal | What to change | Impact |
|---|---|---|
| Richer Taste | Increase cream | Denser, slower melt |
| Lighter Scoop | Increase milk | Airier, faster melt |
| Deeper Aroma | Double vanilla | Stronger scent |
Tools for the Job
Minimal equipment is needed for this process; a large mixing bowl and a sturdy whisk are the primary requirements. An ice cream maker is a great addition if you have one, but a shallow metal pan works just as well for the manual approach.
I recommend pressing plastic wrap directly onto the liquid to stop a skin from forming while the cream chills in the refrigerator. A metal pan is essential for the no-machine version because metal transfers cold far more quickly than glass.
How to Make It
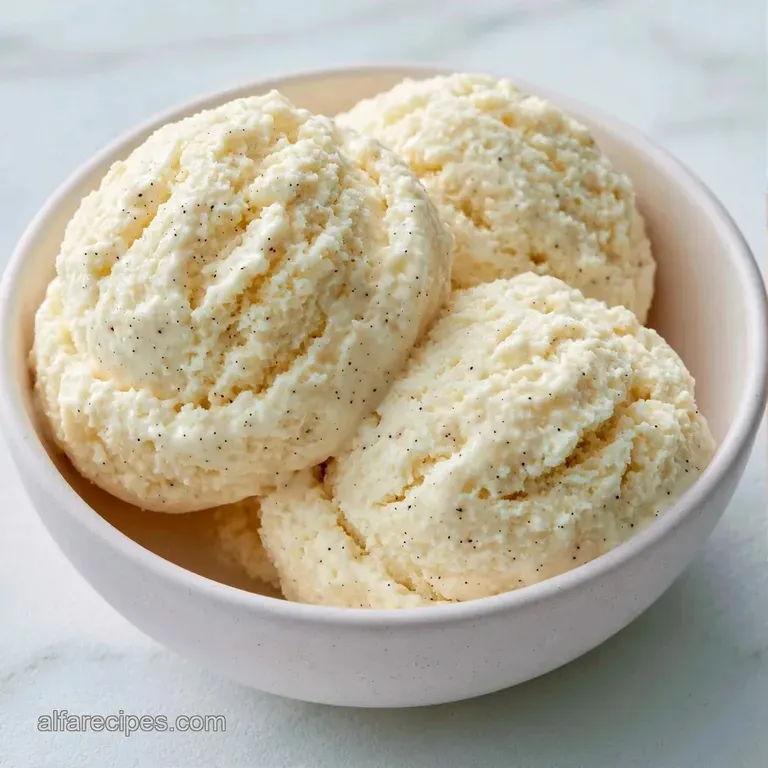
- Combine the chilled whole milk, granulated sugar, and salt in a large bowl.
- Whisk the mixture vigorously for 2-3 minutes until the sugar crystals have completely dissolved and the liquid is clear. Note: This prevents a gritty texture.
- Stir in the vanilla extract and heavy cream until the mixture is smooth and uniform.
- Seal the bowl tightly with plastic wrap, ensuring the wrap is in direct contact with the liquid's surface.
- Refrigerate for 6 hours until the base is ice cold.
- Pour the chilled base into your pre-frozen ice cream maker bowl.
- Start the machine and churn for 20 to 25 minutes until it reaches a soft serve consistency.
- If you are using the no machine method, pour the base into a shallow metal pan and freeze.
- Every 30 minutes, vigorously whisk or mash the ice cream with a fork for 3-4 hours until thick and frozen.
- Transfer the mixture to a container and freeze for another 2 hours to firm up.
Solving Texture Issues
If your scoop has a snow cone texture, you likely didn't chill the base sufficiently. Keeping the liquid colder before freezing helps ensure the ice crystals remain small; this is the most frequent error I encounter with this recipe.
"Sugar grit" is another potential problem. This occurs if the milk and sugar aren't whisked long enough during the initial stage. When crystals don't dissolve in the milk, they persist as tiny grains in the finished Vanilla Ice Cream.
Resolving Icy Textures
Verify your freezer temperature. If it's too high, the ice cream may partially melt and refreeze, which creates crystals. Lay a sheet of parchment paper over the surface before the final freeze.
Solving Graininess
To eliminate grit, you can gently warm the milk and sugar together before cooling. Just ensure the mixture is completely cold once more before incorporating the cream.
| Problem | Root Cause | Solution |
|---|---|---|
| Icy chunks | Base too warm | Chill for full 6 hours |
| Grainy feel | Sugar not dissolved | Whisk longer in step 2 |
| Too soft | Not enough fat | Use full fat heavy cream |
Adjusting the Batch
If you are making a half batch, use a smaller bowl to keep the surface area tight. Reduce the churning time by about 20% since there is less mass to freeze. For a single egg based variation, beat one egg and use half, though this recipe is egg free.
When doubling the recipe, don't just double the vanilla and salt. Increase them to 1.5x first and taste it. Too much salt can make the base taste metallic. Work in batches if your machine bowl is small to avoid overflowing.
Common Kitchen Myths
Some say you must use a custard base with eggs to get a smooth result. That is a myth. A high fat cream base creates a velvety feel without the need for cooking eggs.
Another myth is that adding alcohol prevents freezing. While a tablespoon of vodka can lower the freezing point, it often makes the texture too soft. Stick to the fat ratio for stability.
Freezing and Storage
Store your Vanilla Ice Cream in an airtight, freezer safe container. It remains fresh for about 2 weeks; beyond that, freezer burn may start to affect the edges.
Rather than discarding any leftover cream in the bowl, use it to whip up a quick topping or stir it into your morning coffee. If the ice cream has become too firm, allow it to thaw on the counter for 5 minutes before scooping.
Serving and Pairing
This treat is a blank canvas. It pairs well with warm brownies or a slice of my homemade whipped cream pie for a massive dessert platter.
For a more sophisticated vibe, try an affogato. Pour a shot of hot espresso over a single scoop. The heat creates a luscious sauce around the frozen cream that is just brilliant.
Different Flavor Ideas
You can easily turn this into a base for other flavors. Stir in crushed cookies or chocolate chips during the last 5 minutes of churning. For something more elaborate, use this as a layer in an easy no bake ice cream cake.
If you want a mint version, swap the vanilla for a drop of peppermint extract and add a handful of mini chocolate chips. For a salted caramel twist, swirl in homemade caramel sauce right before you put the container in the freezer.
Recipe FAQs
How to make an easy vanilla ice cream?
Whisk sugar, salt, and chilled milk until dissolved, stir in cream and vanilla, then churn or freeze.
Tip: Ensure your milk and cream are very cold before starting.
What is the simplest way to make ice cream at home?
Pour the chilled base into a shallow metal pan and freeze, whisking every 30 minutes.
Tip: Use a metal pan because it conducts cold faster than plastic.
Is it true that eggs are necessary for a creamy texture?
No, and here's why. The specific ratio of heavy cream to whole milk provides professional density without them.
Tip: Avoid adding extra fats that might make the scoop feel too buttery.
Which technique stops ice crystals from forming without a machine?
Vigorously mash the freezing base with a fork every half hour for 3 to 4 hours.
Tip: The more you break up the crystals, the smoother the final result.
Why is a six-hour chill time required?
Deeply chilled mixtures freeze faster, which prevents large ice crystals from developing.
Tip: Don't skip this step or your ice cream may turn out grainy.
Can I substitute the milk for another liquid?
Full fat coconut milk works well as a replacement for whole milk.
Tip: If you enjoyed the creamy base here, try our smoothie bowl for another chilled treat.
What makes the vanilla flavor more prominent?
A pinch of fine sea salt enhances the aromatic notes of the pure vanilla extract.
Tip: Use high-quality pure extract rather than imitation flavoring.
Which method avoids a skin forming on the mixture?
Cover the bowl tightly with plastic wrap that touches the liquid surface.
Tip: This prevents air from hitting the cream during the long refrigeration period.
Creamy Vanilla Ice Cream