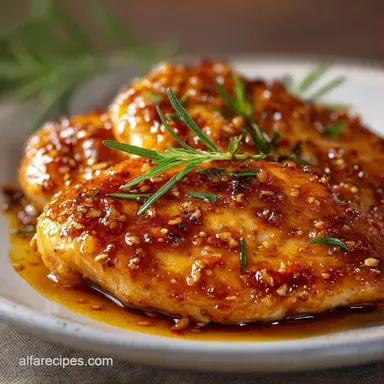
Honey Garlic Chicken Breast: Sticky and Glossy
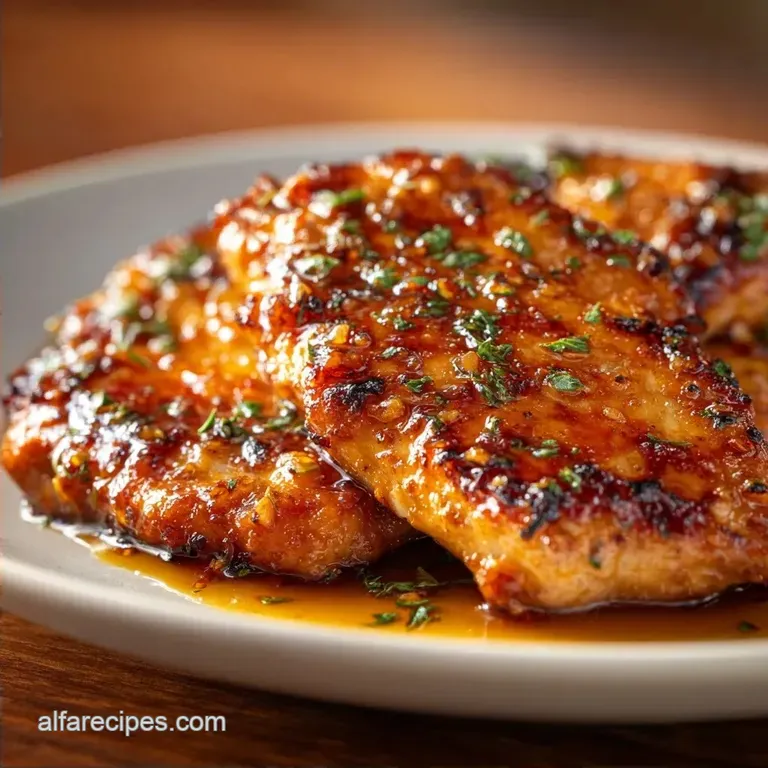
- Time: 10 min active + 10 min cooking
- Flavor/Texture Hook: Sticky, glossy glaze with a mahogany sear
- Perfect for: Busy families, meal prep, or beginner cooks
Honey Garlic Chicken Breast
That specific sound of chicken hitting a hot pan - a loud, aggressive sizzle - is the best part of my Tuesday nights. I remember the first time I tried to make a sticky glaze; I just threw everything in a pot and ended up with boiled chicken in a thin, sweet soup. It was a disaster.
My kids wouldn't even touch it, and I spent the evening scrubbing a burnt honey residue off my favorite skillet.
But then I figured out the flour trick. By giving the meat a tiny bit of "grip," the sauce actually sticks instead of sliding off. Now, this is my go to when the house is loud, the kids are hungry, and I have exactly 20 minutes before someone has a meltdown.
You can expect a dish that's velvety on the outside and juicy on the inside. We aren't doing any fancy gourmet techniques here. Just a few basic pantry staples and a cast iron pan to get that deep, caramelized crust that makes this recipe feel like a treat.
Why the Sauce Stays Sticky
- Surface Grip: A light flour dredge creates tiny ridges on the meat, giving the glaze a place to anchor.
- Sugar Caramelization: Honey thickens as water evaporates, turning into a syrup that coats the chicken.
- Acid Balance: Apple cider vinegar cuts through the heavy sweetness, preventing the dish from tasting like candy.
- Starch Stabilization: The cornstarch slurry bonds the fats and liquids, ensuring the sauce doesn't separate in the pan.
| Feature | Fast Method (This One) | Classic Braised Method |
|---|---|---|
| Cook Time | 10 minutes | 30-40 minutes |
| Texture | Crispy edges, glossy coat | Soft, tender, saucey |
| Tool Use | One skillet | Pot and separate pan |
| Best For | Weeknight rush | Sunday dinner |
Component Analysis
| Ingredient | Science Role | Pro Secret |
|---|---|---|
| All Purpose Flour | Starch barrier | Shake off excess to avoid "pasty" clumps |
| Honey | Natural thickener | Use a warmed jar for easier pouring |
| Apple Cider Vinegar | pH Balancer | Use organic for a punchier, sharper tang |
| Cornstarch | Viscosity agent | Always mix with cold water first (slurry) |
Ingredients and Substitutes
- 1.5 lb boneless skinless chicken breasts Why this? Lean protein that cooks quickly when sliced thin
- Substitute: Chicken thighs (skinless). Note: More fat, more flavor, but takes 2-3 mins longer per side.
- 2 tbsp all purpose flour Why this? Creates the necessary "grip" for the sauce
- Substitute: Cornstarch. Note: Gives a more "tempura like" crunch but can burn faster.
- 1/2 tsp salt Why this? Basic seasoning for depth
- Substitute: Kosher salt. Note: Use 3/4 tsp as grains are larger.
- 1/4 tsp black pepper Why this? Adds a subtle heat
- Substitute: White pepper. Note: Milder and blends in visually.
- 2 tbsp vegetable oil Why this? High smoke point for a hard sear
- Substitute: Avocado oil. Note: Even higher smoke point, very healthy.
- 1/3 cup honey Why this? Provides the sweetness and the stickiness
- Substitute: Maple syrup. Note: Adds a woody flavor; slightly thinner consistency.
- 2 tbsp soy sauce Why this? Adds salt and "umami" depth
- Substitute: Tamari. Note: Great for gluten-free needs; slightly richer taste.
- 3 cloves garlic, minced Why this? Aromatic base for the glaze
- Substitute: Garlic powder (1 tsp). Note: Less punchy, but works in a pinch.
- 1 tbsp apple cider vinegar Why this? Brightens the flavor profile
- Substitute: Rice vinegar. Note: Milder and more traditional for Asian style glazes.
- 1 tsp cornstarch Why this? Final thickening agent
- Substitute: Arrowroot powder. Note: Same result, slightly more glossy.
- 1 tbsp water Why this? Thins the starch for a smooth slurry
Bringing It Together
Phase 1: Prepping the Cutlets
- Slice the chicken breasts horizontally through the middle. Note: This creates thinner cutlets that cook evenly in 10 minutes.
- Toss the meat with salt and pepper.
- Dredge each piece in flour, shaking off any excess. Until the meat looks dusted, not coated.
Phase 2: The Golden Sear
- Heat vegetable oil in a large skillet over medium high heat.
- Add chicken and cook for 3-5 minutes per side. Until a mahogany colored crust forms.
- Remove chicken from the pan and set it on a plate.
Phase 3: The Glaze Reduction
- Lower heat to medium. Add minced garlic and sauté for 30 seconds. Until you smell it but it hasn't browned.
- Stir in honey, soy sauce, and apple cider vinegar.
- Whisk in the cornstarch slurry (cornstarch and water mixed).
- Simmer for 1-2 minutes. Until the sauce bubbles and thickens into a glossy glaze.
Phase 4: The Final Toss
- Return the chicken to the pan.
- Toss quickly to coat every piece. Remove from heat immediately. Note: Overcooking here will make the honey burn and turn bitter.
Chef's Note: If you're using a stainless steel pan and the chicken "sticks," don't panic. Let it sit for 2 minutes without moving it. It will release itself naturally once that mahogany crust has formed.
Fix Common Problems
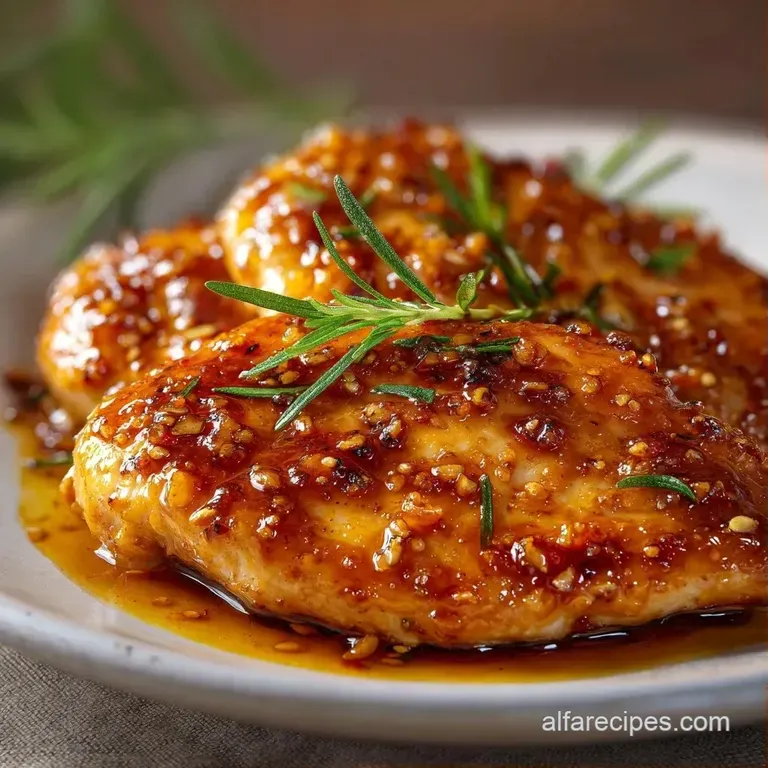
Troubleshooting Common Issues
| Issue | Solution |
|---|---|
| Why Your Sauce is Too Thin | If the glaze looks more like a syrup than a coating, you likely didn't simmer it long enough or your cornstarch was old. According to [Serious Eats](https://www.seriouseats. |
| Why Your Garlic Burned | Garlic has very little water and burns in seconds over high heat. If you see black specks, the garlic is burnt and will taste bitter. Always lower the heat before adding your aromatics. |
| Why the Chicken is Dry | This usually happens if you don't slice the breasts horizontally. Thick breasts take longer to cook through, meaning the outside overcooks before the center is safe. |
Common Mistakes Checklist
- ✓ Sliced chicken into thin cutlets (not left whole)
- ✓ Shook off excess flour (no thick paste)
- ✓ Lowered heat before adding garlic
- ✓ Removed chicken from heat the second it was glazed
- ✓ Mixed cornstarch with cold water first
Adjusting the Portions
When you need to feed a crowd or just yourself, you can't always just double everything. For this Honey Garlic Chicken Breast, I've found a few rules that keep the quality high.
Scaling Down (1-2 servings) Use a smaller 8 inch skillet so the sauce doesn't spread too thin and evaporate instantly. Reduce the cook time by about 20% since thinner portions cook faster. If the recipe calls for one egg in a different version, beat it in a cup and use half.
Scaling Up (2x-4x) Don't crowd the pan. If you put 6 lbs of chicken in one skillet, they will steam instead of sear, and you'll lose that mahogany crust. Work in batches. Also, only increase the salt and spices to 1.5x.
Liquids can be doubled, but keep an eye on the reduction time, it takes longer for a larger volume of sauce to thicken.
If you find yourself making huge batches for the week, you might also enjoy my With Beef And Sausage recipe for a hearty alternative.
Kitchen Myths
Searing locks in juices. This is a classic mistake. Searing doesn't create a "seal" that keeps moisture inside. In reality, the meat loses moisture regardless. The sear is entirely about flavor, the browning adds a depth that boiling or steaming just can't touch.
You must use a non stick pan for this. While non stick is easier, cast iron is actually better for the sear. As long as you use enough oil and give the meat time to release, you'll get a much better crust in a heavy pan.
Honey always burns immediately. Honey does burn faster than sugar, but as long as you add the vinegar and soy sauce to buffer the heat, it stays stable. The key is adding it after the chicken is already seared and the heat is lowered.
Storage Guidelines
In the Fridge Store leftovers in an airtight container for up to 4 days. The sauce will thicken significantly in the cold, becoming almost like a jelly. This is normal.
Freezing I don't recommend freezing this once the sauce is on. The honey and soy sauce can change texture, and the flour coating can become mushy. If you must freeze, freeze the seared chicken alone and make a fresh batch of sauce when you reheat.
Zero Waste Tips Don't throw away the "fond" (those brown bits) in the pan. That's where the flavor lives! The sauce naturally deglazes the pan, but if you have extra bits, add a splash of water or broth and use it as a base for a quick pan sauce for vegetables.
Serving Suggestions
This dish is quite sweet and salty, so it needs something neutral or acidic to balance it out. I usually serve it over a bed of steamed jasmine rice or quinoa to soak up every drop of that glaze.
For those who want a vegetable side, steamed broccoli or snap peas work beautifully because they provide a fresh, crisp contrast to the velvety sauce. If you're looking for another quick win for your dinner rotation, you might like these Easy Pasta Sauces for a different kind of comfort meal.
- The Healthy Route
- Sautéed spinach or roasted asparagus.
- The Comfort Route
- Mashed potatoes or buttery noodles.
- The Fresh Route
- A simple cucumber salad with rice vinegar and sesame seeds.
High in Sodium
1120 mg 1,120 mg of sodium per serving (49% 49% of daily value)
The American Heart Association recommends a limit of 2,300 mg of sodium per day for most adults to maintain heart health.
Tips to Reduce Sodium
-
Swap Soy Sauce-30%
Replace regular soy sauce with low-sodium soy sauce or coconut aminos to significantly lower the salt content while keeping the savory umami flavor.
-
Omit Added Salt-25%
Completely remove the 1/2 tsp of salt from the flour coating; the soy sauce in the glaze provides more than enough seasoning.
-
Boost the Acid-10%
Increase the apple cider vinegar or add a squeeze of fresh lemon juice to enhance the flavor profile, which reduces the perceived need for salt.
-
Enhance with Aromatics
Add freshly grated ginger or increase the amount of minced garlic to add complexity and depth to the sauce without adding sodium.
Recipe FAQs
How do I make honey garlic chicken breast?
Slice the breasts horizontally into thin cutlets. Season with salt and pepper, dredge in flour, and sear in vegetable oil for 3-5 minutes per side before tossing in the honey garlic glaze.
How to make honey and garlic sauce for chicken?
Sauté minced garlic for 30 seconds over medium heat. Stir in honey, soy sauce, and apple cider vinegar, then whisk in a cornstarch slurry and simmer for 1-2 minutes until the sauce is glossy.
Why is my chicken breast dry?
Slice the breasts horizontally through the middle. Leaving them thick causes the outside to overcook and dry out before the center reaches a safe temperature.
Why did the garlic in my sauce burn?
Lower the heat to medium before adding the aromatics. Garlic has very little water and burns in seconds over high heat, which creates a bitter taste.
Is it true that I should freeze the chicken after adding the sauce?
No, this is a common misconception. Freezing the dish after saucing can make the flour coating mushy and negatively alter the texture of the honey and soy sauce.
How long can I store the leftovers in the fridge?
Store in an airtight container for up to 4 days. The sauce will naturally thicken into a jelly-like consistency while cold, which is normal for this glaze.
What side dish pairs best with this chicken?
Serve this with a crisp, fresh vegetable. If you enjoyed the efficient timing used for this sear, see how the same principle works for our steamed asparagus.
Sticky Honey Garlic Chicken Breast