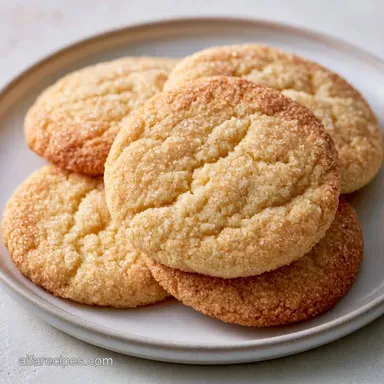
No-Spread Fathers Day Sugar Cookies
- Time: 20 min active + 3 hours 10 mins chilling/setting
- Flavor/Texture Hook: Crisp edges with a dense, smooth center
- Perfect for: Last minute gifts that look professional
The smell of vanilla and toasted butter hitting the air is the best part of baking. I used to think you had to chill cookie dough for twenty four hours to keep it from spreading, but that's mostly a myth. You don't need a full day of waiting to get a clean edge.
The trick is focusing on the temperature of the butter and a precise one hour rest. Most people over cream their butter and sugar, which traps too much air and leads to cookies that puff up and lose their shape. By keeping the mixing minimal, we keep the structure tight.
These Fathers Day Sugar Cookies stay exactly where you put them on the pan. We're skipping the overnight wait and focusing on a "power chill" that gets you to the decorating stage much faster.
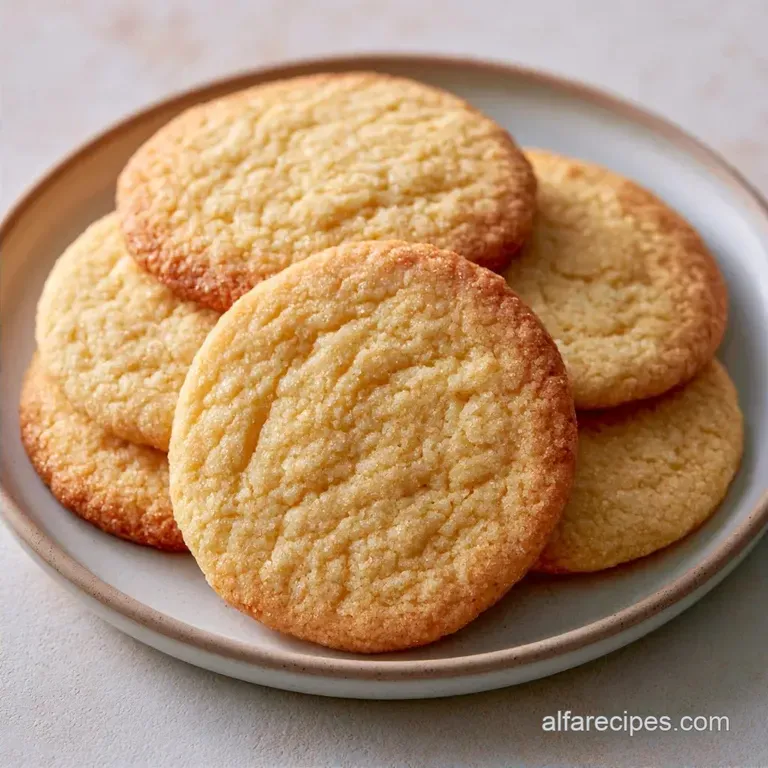
Fathers Day Sugar Cookies
- Chilled Butter: Using cold, cubed butter instead of softened butter prevents the dough from becoming too oily, which stops the cookies from flattening.
- Low Speed Mixing: Avoiding high speeds means we don't incorporate excess air, keeping the cookies dense enough to hold a detailed shape.
- Controlled Rest: A 60 minute chill hydrates the flour and firms up the fats, so the edges don't melt before the structure sets in the oven.
Since we're going for a specific look, the method matters. Here is how this approach compares to the traditional way.
| Method | Chill Time | Texture | Best For |
|---|---|---|---|
| Classic | 24 hours | Very dense | Complex 3D shapes |
| This Method | 1 hour | Soft center, crisp edge | Fast decorating |
The right ingredients ensure the dough doesn't act up. Using a precise weight for your flour is the best way to avoid a dry, crumbly cookie.
The Core Ingredient Roles
| Ingredient | What It Does | Best Swap |
|---|---|---|
| Chilled Butter | Provides structure/flavor | Margarine (less flavor) |
| All Purpose Flour | Builds the frame | 1:1 gluten-free Flour |
| Baking Powder | Adds a tiny lift | Baking soda + cream of tartar |
| Powdered Sugar | Creates smooth icing | Cornstarch + granulated sugar |
It's worth noting that for the flour, I always recommend King Arthur All Purpose Flour because the protein content is consistent. This prevents the dough from being too sticky or too stiff.
For the Dough
- 1 cup (225g) unsalted butter, chilled and cubed Why this? Cold fat prevents spreading
- 1 cup (200g) granulated sugar Why this? Standard sweetness and crispness
- 1 large (50g) egg, room temperature Why this? Binds the dough together
- 2 tsp (10ml) vanilla extract Why this? Classic aromatic base
- 3 cups (375g) all purpose flour Why this? Provides the necessary gluten
- 1 tsp (5g) baking powder Why this? Minimal lift for clean edges
- ½ tsp (3g) salt Why this? Balances the sugar
For the Icing
- 2 cups (240g) powdered sugar
- 2 tbsp (30ml) milk
- 1 tsp (5ml) vanilla extract
Since you might not have everything on hand, here are a few ways to swap things out without ruining the batch.
| Original Ingredient | Substitute | Why It Works |
|---|---|---|
| Unsalted Butter | Salted Butter | Works fine, but omit the ½ tsp salt |
| Milk (in icing) | Heavy Cream | Makes the icing richer and more opaque |
| Vanilla Extract | Almond Extract | Gives a more "bakery style" flavor |
Quick Reference Guide
The timing here is precise. If you pull them out too early, the icing won't stick. If you leave them too long, they get brittle.
- Prep time:20 minutes
- Cook time:10 minutes
- Total time:3 hours 30 mins
- Oven Temp: 350°F (175°C)
- Yield: 18 cookies
Everything You'll Need
You don't need a professional kitchen, but a few specific tools make this easier. A stand mixer such as a KitchenAid is great, but a hand mixer works too.
- Electric mixer (hand or stand)
- Rolling pin
- Parchment paper (essential for no stick)
- Cookie cutters (ties, tools, or hearts)
- Piping bags or plastic zip tops
- Baking sheets
The step-by-step Process

- Cream the chilled cubed butter and sugar. Mix until combined but do not let it become fluffy Note: Over mixing here adds air that causes spreading.
- Mix in the room temperature egg and 2 tsp vanilla extract.
- Gradually add the flour, baking powder, and salt on low speed. Mix until a stiff dough forms.
- Wrap the dough in plastic wrap and flatten it into a disk. Refrigerate for 60 minutes.
- Place the chilled dough between two sheets of parchment paper. Roll it out to 1/4 inch (6mm) thickness.
- Cut shapes quickly. Place them on a lined baking sheet with 2 inches of space between each cookie.
- Bake at 350°F (175°C) for 8-10 minutes until edges are barely set. Cool completely on the pan.
- Whisk powdered sugar, milk, and 1 tsp vanilla extract until smooth. Divide into bowls and add food coloring.
- Pipe a thick outline on the cookies, then fill the center. Let them sit for 2 hours to set.
Chef's Tip: If your kitchen is hot, put the cut out cookies in the freezer for 5 minutes right before they go in the oven. This locks in the shape.
Fixing Common Cookie Problems
If your cookies aren't looking right, it's usually a temperature issue. The most frequent complaint is the "blob" effect, where the cutter shape disappears. This happens when the butter melts before the flour structure can set.
Dough is too soft
If the dough feels tacky or sticky while rolling, stop immediately. Put it back in the fridge for 15 minutes. Working with warm dough is the fastest way to ruin the shape of your Fathers Day Sugar Cookies.
Icing won't hold a line
This is usually because there is too much milk. Add more powdered sugar one tablespoon at a time until the icing is thick enough to create a "bead" that doesn't flatten out instantly.
Cookies are too hard
Over baking is the culprit. Because these are pale cookies, it's hard to tell when they're done. Take them out when the edges are just barely matte, not brown.
| Problem | Fix |
|---|---|
| Cookies spread | Chill cut outs before baking |
| Runny icing | Add more powdered sugar |
| Hard texture | Reduce bake time by 1-2 mins |
Adjusting Your Batch Size
If you're feeding a whole family, you might want to double the recipe. However, baking more cookies at once can change the oven temperature.
- Scaling Down (½ batch): Use 4 tbsp of beaten egg (half of one large egg). Reduce bake time by about 20% and use a smaller baking sheet.
- Scaling Up (2x batch): Lower the oven temperature to 325°F (160°C) and extend the bake time by 2-3 minutes. This ensures the middle of the pan cooks evenly. Work in batches so you don't overcrowd the oven.
Since you might be making these for different people, here is a quick guide for yield.
| Desired Yield | Butter Amount | Flour Amount | Egg Amount |
|---|---|---|---|
| 9 Cookies | ½ cup | 1.5 cups | ½ egg (beaten) |
| 18 Cookies | 1 cup | 3 cups | 1 large egg |
| 36 Cookies | 2 cups | 6 cups | 2 large eggs |
Keeping Your Cookies Fresh
Store these in an airtight container at room temperature for up to 5 days. If you're planning ahead, you can freeze the unbaked dough disks for up to 3 months. Just thaw them in the fridge overnight before rolling.
For a zero waste approach, don't throw away the dough scraps. Gather them, re roll them once, and cut out smaller "mini" cookies. If the dough becomes too warm to roll again, just scoop them into small balls and bake them as simple drop cookies. If you're planning a full breakfast spread, these cookies pair well with a homemade bagel recipe and fresh fruit.
Serving and Presentation Ideas
These cookies look best when displayed on a wooden platter or in a tin. If you're giving them as a gift, stack them with parchment paper between layers to prevent the icing from sticking.
The "Dad's Coffee" pairing is a winner here. Because the cookies are sweet and buttery, they cut through the bitterness of a dark roast coffee or a bold espresso. For a more formal presentation, use a small cardboard gift box with a clear window and tie it with a twine ribbon.
Creative Flavor Twists
You can easily change the vibe of these cookies by swapping a few flavors. While the classic vanilla is great, some dads prefer something less sweet.
- The "Savory Sweet": Add 1 tsp of orange zest to the dough. It adds a bright, citrus note that keeps the sugar from feeling overwhelming.
- The "Chocolate Twist": Replace ¼ cup of the flour with cocoa powder. This creates a rich, dark base that looks great with white icing.
- The "Coffee Kick": Add 1 tbsp of instant espresso powder to the butter and sugar.
If you're serving these as part of a larger dessert table, you might also consider adding some no bake cheesecake cups for a different texture. Whether you keep them simple or go all out with the decorations, these Fathers Day Sugar Cookies are a foolproof way to show some appreciation.
Recipe FAQs
Can Father's Day sugar cookies be made gluten-free or vegan?
Yes, but use specific replacements. Swap the all-purpose flour for a 1:1 gluten-free blend and use plant based butter and egg substitutes to maintain the structure.
What is the best way to store these cookies?
Store in an airtight container at room temperature. Once the frosting has set for two hours, place them in a single layer or use parchment dividers to prevent sticking.
Is it true I must chill the dough for 24 hours to stop spreading?
Actually, no. A focused 60-minute "power chill" is sufficient to hydrate the flour and firm the fats for clean edges without the overnight wait.
How to prepare these cookies from scratch?
Cream chilled cubed butter and sugar until combined but not fluffy. Mix in the egg and vanilla, stir in dry ingredients, chill for 60 minutes, roll to 1/4 inch, and bake at 350°F for 8-10 minutes. If you enjoyed mastering texture control here, see how we use similar precision in our graduation cake to ensure a professional finish.
Fathers Day Sugar Cookies