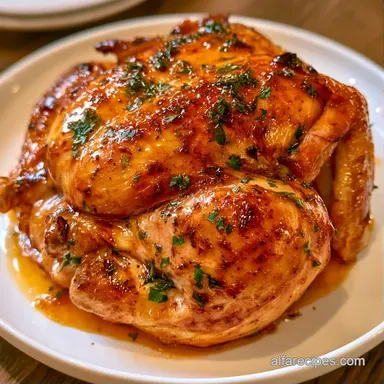
Crispy Chicken on Rotisserie Recipe
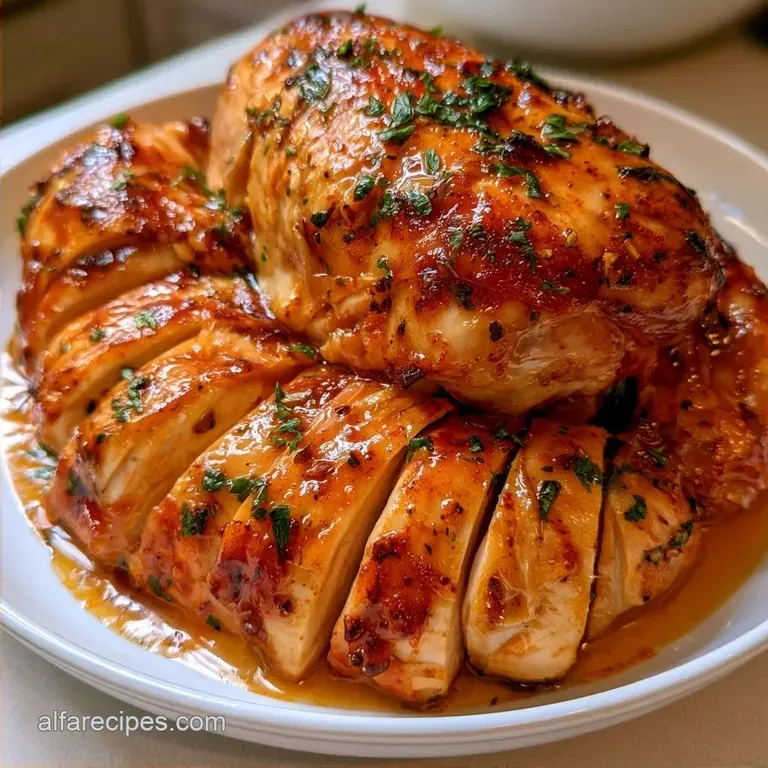
- Time: 20 min active + 70 min roasting
- Flavor/Texture Hook: Shattering crisp skin and juicy, tender meat
- Perfect for: Family Sunday dinners or meal prep for the week
The smell of a roasting chicken is one of those things that just stops you in your tracks. It fills every corner of the house, reminding me of the old European village markets where the rôtisserie is the heart of the square.
There is something deeply communal about a whole bird spinning over heat, dripping juices, and turning that deep, glossy brown.
For my family, the Sunday roast isn't just a meal. It is the moment we all actually sit down and catch up. I used to think you needed a professional deli setup to get that specific texture, but it turns out the home rotisserie is more than enough if you handle the prep right.
This Chicken On Rotisserie Recipe is all about the flow. We start with a over high heat blast to set the skin and then let the rotation do the heavy lifting. Trust me on the trussing part, because a loose bird is a recipe for uneven cooking.
Why the Rotation Works
Rotation is a simple mechanical trick that changes how the meat cooks. Instead of the juices pooling in the bottom of a pan, they flow over every inch of the skin.
Self Basting: The fat constantly washes over the breast and legs, which keeps the meat moist while the skin fries in its own oil. Even Heat: Since the bird is always moving, no single side gets blasted by the heating element for too long, preventing burnt wings.
Gathering Your Essentials
The flavor here comes from a mix of smoky and earthy notes. I use smoked paprika to get that deep color and garlic salt for a punchy base. Using melted butter instead of just oil helps the rub stick and creates a richer, more golden crust.
For the bird, a 4.5 lb chicken is the sweet spot. Anything larger takes too long to reach the center without drying out the edges. Anything smaller tends to overcook before the skin gets that satisfying crackle.
Ingredients and Substitutes
- 1 4.5 lb whole chicken, giblets removed Why this? Perfectly sized for consistent cooking and timing
- 1/2 cup unsalted butter, melted Why this? Essential fat for achieving a golden brown finish
- 1 tbsp smoked paprika Why this? Creates a rich mahogany hue and smoky aroma
- 1 tbsp garlic salt Why this? Imparts a deep, savory flavor to the bird
- 1 tsp cracked black pepper Why this? Offers a pungent kick to cut through the richness
- 1 tsp dried thyme Why this? A traditional earthy herb that pairs well with chicken
- 1 tsp dried oregano Why this? Brings a light floral, Mediterranean touch
- 1 tbsp olive oil Why this? Ensures the rub clings and keeps the meat from sticking
| Original Ingredient | Substitute | Why It Works |
|---|---|---|
| Smoked Paprika | Sweet Paprika | Maintains the red shade but removes the smoky flavor |
| Unsalted Butter | Ghee | Stable at 425°F due to a higher smoke point |
| Dried Thyme | Dried Rosemary | Offers a similar earthy quality, though it's stronger |
Now that your ingredients are ready, double check your equipment. An unstable bird in the pan is just asking for trouble.
Gear for the Grill
You will need a rotisserie spit and forks that fit your oven or grill. If you are using an oven, make sure the drip pan is properly positioned to catch the fat, or you'll be scrubbing burnt grease for an hour.
I highly recommend a digital meat thermometer. Checking the temp is the only way to know when to pull the bird. Relying on "looks" usually leads to overcooked breast meat. Kitchen twine is also non negotiable for securing the legs.
The Cooking Process
Here is the process. For the best results with this Rotisserie Chicken, stick to the sequence of drying, tying, and glazing.
- Use paper towels to wipe the chicken skin until it's completely dry. Note: Removing moisture prevents steaming and encourages better browning
- Add a dash of salt inside the cavity. Note: This helps season the meat internally
- Secure the legs tightly with kitchen twine and tuck the wing tips under the breast. Note: This keeps the chicken stable as it rotates
- Insert the rotisserie spit and lock the forks firmly. Note: Make sure the bird is positioned in the center
- Combine the oregano, thyme, pepper, garlic salt, and smoked paprika in a bowl.
- Apply half of the dry seasoning directly to the skin.
- Stir the rest of the rub into melted butter and coat the chicken generously.
- Set your oven to 425°F (218°C) and run the rotisserie for 15 minutes. Watch for the skin to begin bubbling and sizzling.
- Roast at 425°F until the internal temperature reaches 165°F (usually taking about 70 minutes in total).
To get that authentic rotisserie finish, baste every 15-20 minutes using the drippings. Those juices are essential for a perfect skin.
Fixing Common Issues
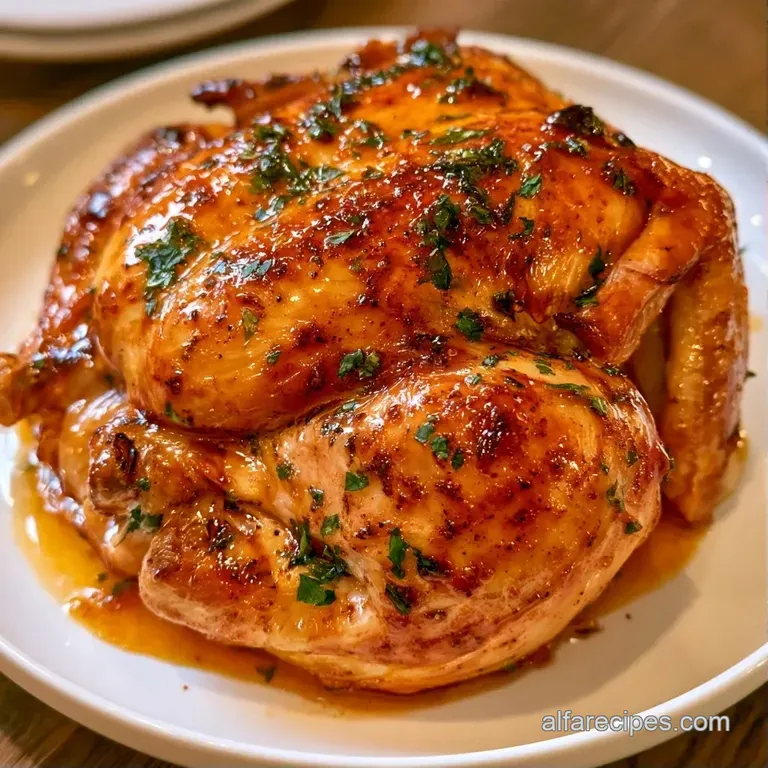
Even the best plans can fail. I once roasted a chicken that wobbled so violently it looked like it was trying to break out of the oven.
Solving Uneven Cooking
This usually occurs when the bird isn't centered on the spit. If the weight is unbalanced, the motor will struggle and the heat won't be distributed evenly. Center the chicken precisely and tighten the forks until they are firmly embedded in the meat.
Skin Browning Too Quickly
If the skin is turning dark brown while the meat remains undercooked, lower your temperature to 375°F. This helps the internal temperature catch up without scorching the surface. You can also shield the breast with a piece of foil.
Managing Flapping Wings
Loose wings often hit the oven walls and burn. If they begin to char, stop the spit and tie them more securely. A compact bird is much easier to roast.
Preventing Dry Meat
Dryness is typically caused by overcooking. Take the chicken off the heat at 160°F and let it rest. Through carryover cooking, the temperature will rise to 165°F while it sits.
Tweaking the Flavors
After mastering this Chicken On Rotisserie Recipe, feel free to experiment with the seasonings. For a zesty flavor, mix the zest of one lemon and a teaspoon of onion powder into the butter; it adds a refreshing brightness to the entire dish.
To achieve a "barbecue" feel, replace the thyme and oregano with brown sugar and a pinch of cayenne. At 425°F, the sugar caramelizes rapidly, creating a rich, sticky glaze.
For a completely different flavor profile, try my cream cheese chicken, which is equally filling and perfect for a family dinner.
Adjustment Shortcuts
- Extra tang? → add 1 tsp lemon zest to butter
- Spicy kick? → add 1/2 tsp cayenne to rub
- Deeper color? → add 1 tsp molasses to butter
Adjusting the Batch Size
Scaling a rotisserie chicken is different from adjusting a soup recipe; you simply can't double up the meat on one spit.
Scaling Down: For a smaller 3 lb bird, reduce the cooking time by about 15-20 minutes. Use a smaller drip pan to keep the heat concentrated.
Scaling Up: To feed a larger crowd, use separate spits for each bird. Avoid overcrowding the oven to ensure proper air circulation and maintain that crispy skin. To avoid over seasoning, cap the salt and spice increase at 1.5x per bird.
| Method | Heat Level | Result |
|---|---|---|
| Classic Rotisserie | Steady 425°F | Uniform brown, juicy meat |
| Fast Static Roast | 400°F (no spin) | Crispy top, potential for dry breast |
| Low and Slow | 325°F (spin) | Very tender, paler skin |
Storage and Leftovers
The leftovers from this Chicken On Rotisserie Recipe are actually some of my favorite parts. Store the carved meat in an airtight container in the cooler for up to 3 days.
For the freezer, wrap the meat tightly in foil and then a freezer bag. It stays good for about 2 months. When you reheat it, do it slowly in the oven at 300°F to avoid drying it out.
Don't toss the carcass. Put the bones and the drip pan juices into a pot with an onion, a carrot, and some celery. Simmer it for 3 hours to make a rich bone broth. It is a no fuss way to ensure zero waste.
Serving Your Bird
Allow the chicken to rest for at least 15 minutes before slicing. Cutting into it too early causes the juices to spill onto the board, which can dry out the meat quickly.
I love pairing the leftovers with homemade bagels for a satisfying breakfast sandwich the next morning. For dinner, serve it with a simple slaw or roasted root vegetables.
Carving for Crowds
Start by removing the thighs and legs. Then, carve the breast meat against the grain to ensure every bite is tender. Arrange the pieces on a serving platter and drizzle the remaining pan juices over them for added moisture.
And that's how you prepare a whole bird without the stress. It takes a bit of patience with the twine and temperature, but the payoff is a meal that brings the whole family together. Trust your thermometer, keep the skin dry, and let the rotisserie do the hard work.
High in Sodium
1020 mg 1020 mg of sodium per serving (44% 44% of daily value)
The American Heart Association recommends a daily sodium limit of no more than 2,300 mg for most adults to reduce the risk of cardiovascular disease.
Tips to Reduce Sodium
-
Swap Garlic Salt for Garlic Powder-25%
Replace the garlic salt with garlic powder. This removes the bulk of the sodium while maintaining the savory garlic flavor.
-
Add Fresh Citrus-15%
Squeeze fresh lemon juice over the chicken before roasting. The acidity mimics the taste of salt and brightens the other spices.
-
Use a Salt Free Seasoning-10%
Use a salt free poultry blend instead of individual salted seasonings to keep the flavor profile complex without the sodium.
-
Amplify Fresh Herbs
Increase the quantity of dried thyme and oregano, or use fresh versions, to add more depth and aroma to the crust.
Recipe FAQs
How long does it take to cook a chicken on a rotisserie?
Allow roughly 70 minutes for cooking.
Tip: Verify the center has reached your preferred temperature using a food thermometer.
What is the best seasoning for rotisserie chicken?
A blend of smoked paprika, garlic salt, pepper, thyme, and oregano provides the most balanced flavor.
Tip: Brush the dry rub mixed with melted butter over the skin for better adhesion.
Are common mistakes usually caused by poor tying?
Not true. Most errors come from not drying the skin or failing to secure the spit forks tightly.
Tip: Tie the legs and wing tips securely with kitchen twine for an even rotation.
How to make a chicken quesadilla using rotisserie chicken?
Layer shredded meat and cheese between two tortillas and grill until crisp.
Tip: Use a skillet with a small amount of olive oil to get a golden brown finish.
Is it easier to shred chicken when it's hot or cold?
Actually, no. It is much easier to shred the meat while it is still warm from the oven.
Tip: Use two forks to pull the meat apart along the natural grain.
Which meals work best for leftover rotisserie chicken?
Shredded chicken pairs perfectly with a cheddar nacho sauce for a quick appetizer.
Tip: Store carved meat in the cooler for up to 3 days.
Why does the skin often end up soggy?
Too much moisture on the skin hinders the Maillard reaction.
Tip: Use paper towels to remove all surface moisture from the chicken before seasoning.
Chicken On Rotisserie Recipe