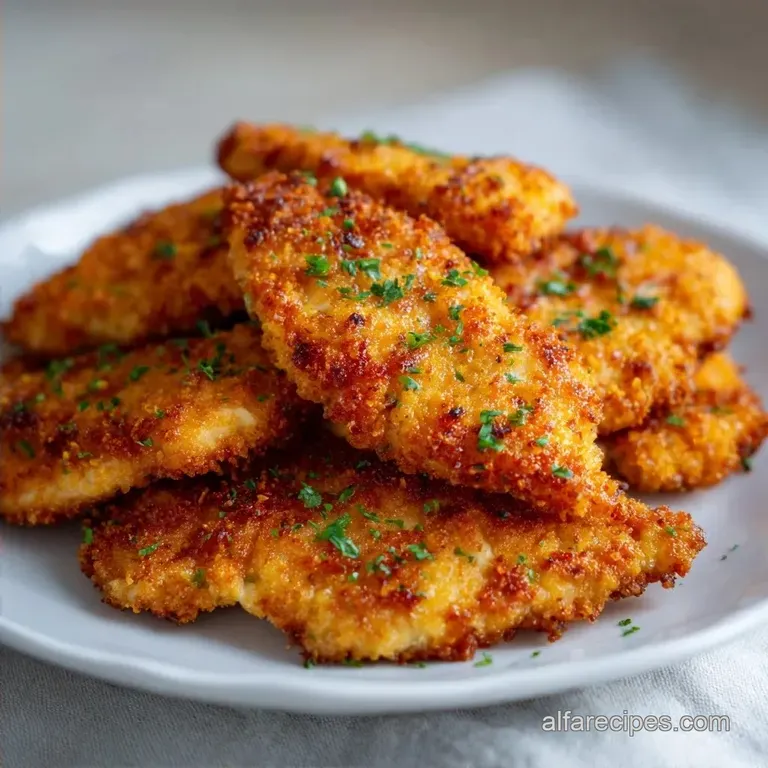
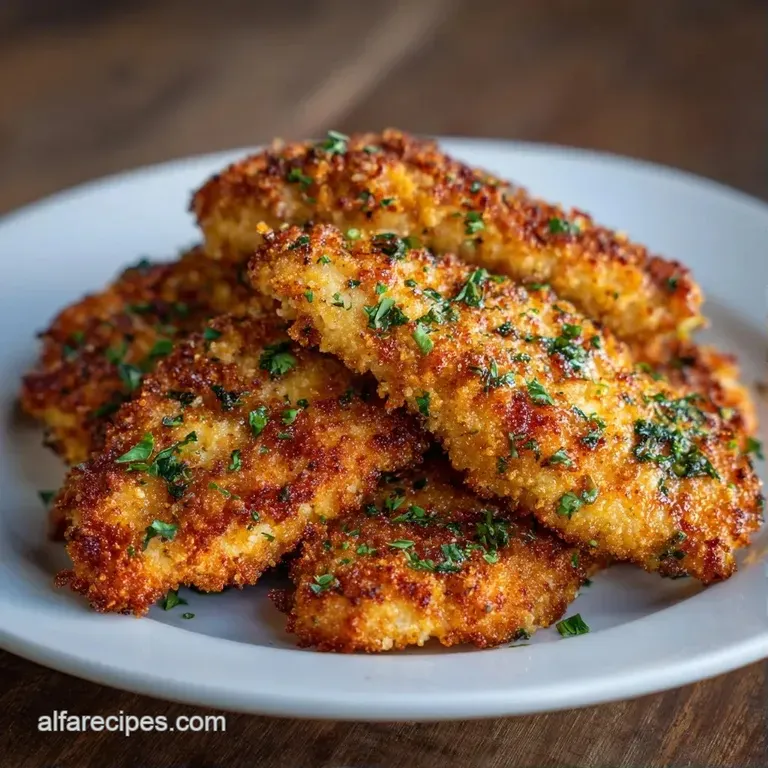
Baked Healthy Chicken Strips: Shatter Crisp
- Time: 10 min active + 20 min cooking
- Flavor/Texture Hook: Shatter crisp panko with a juicy, tender center
- Perfect for: budget-friendly meal prep and picky eaters
- Baked Healthy Chicken Strips
- The Secret to Better Chicken
- Component Analysis
- The Essential Ingredient List
- Tools for the Job
- Cooking the Strips
- Fixing Common Cooking Issues
- Flavor Tweaks and Swaps
- Scaling for Crowds
- Kitchen Fact Check
- Storage and Prep Tips
- Best Sides and Dips
- Recipe FAQs
- 📝 Recipe Card
That sharp, savory scent of toasted garlic and paprika hitting the air is the only way I know the kitchen is actually working. I remember the first time I tried to make "healthy" chicken strips, and it was a disaster.
I just put them on a flat baking sheet, and the bottoms turned into a sad, pale mush while the tops were barely tan. I almost gave up on the idea of oven baked tenders entirely because they felt like a compromise that nobody actually wanted to eat.
Then I found the wire rack trick. It felt like a small thing, but it changed everything. Suddenly, the hot air could actually circulate under the chicken, and that pale mush turned into a velvety, golden crust.
It's a simple fix, but it's the difference between something you'd actually serve to guests and something you eat in secret over the sink.
This version of Baked Healthy Chicken Strips is all about getting that takeout feel while keeping things budget friendly and nutrition focused. We're using panko for a lighter crunch and lean breast meat to keep things lean. Trust me, once you see how these come out, you won't even miss the deep fryer.
Baked Healthy Chicken Strips
The secret to this recipe isn't a fancy ingredient, it's just about managing heat. Most people fail at this because they crowd their pans or forget the oil spray. When you leave space between the strips and give them a light mist of oil, you're basically creating a mini convection oven on your baking sheet.
I've spent a lot of time playing with the breading ratios. Too much flour and you get a doughy layer; too little and the panko slides right off. We've landed on a balance that keeps the meat juicy inside while the outside stays crisp enough to hear the crunch from across the room.
It's the ideal balance for anyone wanting a meal that feels like a treat but fits into a healthy lifestyle.
Right then, let's get into the specifics of why this actually works. I'm not talking about complex chemistry, just the practical stuff that happens in your oven.
The Secret to Better Chicken
- Airflow Logic: Lifting the chicken on a wire rack lets heat hit the bottom, preventing the dreaded "soggy base" and ensuring a uniform gold color.
- Panko Structure: Unlike traditional breadcrumbs, panko flakes are larger and airier, which creates more surface area for the oil to crisp up.
- Protein Timing: Chicken breast dries out fast. Cooking at a high heat (400°F) for a shorter time locks in moisture before the meat overcooks.
- The Flour Bridge: A light dusting of flour creates a dry surface that the egg can grip, which then holds the panko in place so it doesn't peel off.
| Method | Time | Texture | Best For |
|---|---|---|---|
| Oven Baked | 30 mins | Light, crispy | Meal prep, health |
| Stovetop Fry | 15 mins | Heavy, crunchy | Fast cravings, rich flavor |
| Air Fryer | 12 mins | Very dry, crisp | Single servings, speed |
Component Analysis
| Ingredient | Science Role | Pro Secret |
|---|---|---|
| Panko Crumbs | Structural Crunch | Toast them slightly in a pan first for deeper color |
| Beaten Eggs | The Adhesive | Add a splash of water to thin the egg for a thinner coat |
| Olive Oil Spray | Heat Conductor | Spray AFTER breading to avoid clumping the crumbs |
| Garlic Powder | Flavor Base | Use a pinch more than the recipe calls for a bold kick |
The Essential Ingredient List
For the best results, keep your chicken strips uniform in size. If some are thick and others are thin, the thin ones will be dry by the time the thick ones are safe to eat.
- 1.5 lb chicken breast, cut into 1 inch strips Why this? Lean protein that's easy to portion.
- 1/2 cup all purpose flour Why this? Creates the essential grip for the egg.
- 2 large eggs, beaten Why this? The glue that holds everything together.
- 1 1/2 cups panko breadcrumbs Why this? Lighter and crispier than standard crumbs.
- 1 tsp garlic powder Why this? Adds a savory, aromatic depth.
- 1 tsp paprika Why this? Gives that classic golden red hue.
- 1/2 tsp salt Why this? Enhances all other flavors.
- 1/4 tsp black pepper Why this? Adds a subtle, warm bite.
- 2 tbsp olive oil spray Why this? Provides the fat needed for browning.
Substitution Options
| Original Ingredient | Substitute | Why It Works |
|---|---|---|
| All purpose flour | Almond flour | Low carb option. Note: Slightly grainier texture |
| Panko breadcrumbs | Crushed cornflakes | Very crunchy. Note: Adds a hint of sweetness |
| Olive oil spray | Avocado oil spray | Higher smoke point. Note: Very neutral flavor |
| Garlic powder | Onion powder | Similar savory profile. Note: Milder, sweeter taste |
Tools for the Job
You don't need a professional kitchen for this, but a couple of specific tools make it way easier. I prefer using three separate shallow bowls for the breading station. It keeps the flour, egg, and crumbs from mixing, which would just create a sticky mess.
The most important tool here is the wire cooling rack. If you don't have one, any oven safe rack will do. It just needs to lift the meat about an inch off the pan. I also recommend a digital meat thermometer. Relying on "looking" at the chicken is how you end up with rubbery meat. According to USDA guidelines, chicken must reach an internal temperature of 165°F to be safe.
Cooking the Strips
Let's crack on. Make sure your oven is fully preheated before you start breading, otherwise, the breadcrumbs will just sit there and soak up the egg without searing.
Phase 1: The Setup
- Preheat your oven to 400°F (200°C) and place a wire cooling rack on top of a large baking sheet. Note: This is the key to the crunch.
- Prepare the breading station: fill the first bowl with flour, the second with beaten eggs, and the third with panko breadcrumbs mixed with garlic powder, paprika, salt, and black pepper.
Phase 2: The Breading Process
- Dredge each chicken strip in the flour, shaking off any excess. Note: Too much flour causes the breading to slip off.
- Dip the floured strips into the beaten eggs until fully coated.
- Press each strip firmly into the panko mixture until the chicken is completely encased in crumbs.
Phase 3: The Golden Bake
- Arrange the strips on the wire rack, ensuring they do not touch to allow for maximum air circulation.
- Spray the tops of the chicken strips evenly with olive oil spray.
- Bake for 15–20 minutes until golden and crackling. Use a meat thermometer to ensure the thickest part has reached 165°F (74°C).
Fixing Common Cooking Issues
Even with a plan, things can go sideways. I've had batches where the breading just slid off like a wet blanket. Usually, that happens because the chicken was too damp when it hit the flour. Always pat your meat dry with paper towels first.
The Soggy Coating
If your strips aren't crisp, you might have overcrowded the pan. When the chicken is too close together, steam gets trapped, and instead of roasting, the chicken essentially steams itself. Give them at least an inch of breathing room.
Breading Peeling Off
This usually happens if the flour layer was too thick or if the chicken wasn't pressed firmly into the panko. The "press" is important - really push those crumbs into the egg.
| Problem | Root Cause | Solution |
|---|---|---|
| Pale Color | Not enough oil spray | Spray more evenly or toast panko first |
| Dry Meat | Overcooked by 2-3 mins | Use a thermometer and pull at 165°F |
| Clumpy Crumbs | Egg mixed into panko | Keep breading bowls strictly separate |
Common Mistakes Checklist
- ✓ Pat chicken dry before flouring
- ✓ Shake off excess flour completely
- ✓ Press panko firmly into the meat
- ✓ Ensure strips aren't touching on the rack
- ✓ Use 400°F for over high heat searing
Flavor Tweaks and Swaps
If you're feeling adventurous, you can change the flavor profile just by swapping the spices in the panko. For a spicy kick, add a teaspoon of cayenne or smoked paprika. If you want something more herbal, dried oregano and parmesan cheese work brilliantly.
For those who want a different protein experience, you can apply these same breading rules to fish or tofu. If you're looking for something even creamier to serve on the side, my Cream Cheese Chicken uses a similar lean protein base but with a velvety sauce that contrasts well with a crispy side.
Dietary Substitutions
- gluten-free: Use certified GF flour and GF panko. The texture remains almost identical.
- dairy-free: This recipe is naturally dairy-free, making it great for those with sensitivities.
- Lower Carb: Swap panko for crushed pork rinds. It changes the flavor to be more savory and "meaty," but the crunch is incredible.
Scaling for Crowds
When you're doubling or tripling this recipe for a party, don't just put everything on one tray. You'll end up with a steam bath. Work in batches.
- Scaling Down (1/2 batch): Use a smaller baking sheet and reduce the cooking time by about 2-3 minutes, as smaller loads often cook faster.
- Scaling Up (2x-4x): Increase the spices to only 1.5x the original amount first, then taste. Liquids (eggs) can be reduced by 10% because you'll be more efficient with the dip.
- Oven Adjustments: If you're using two racks at once, lower the temp to 375°F and extend the time by 5 minutes. Rotate the pans halfway through so the top tray doesn't burn while the bottom stays pale.
Kitchen Fact Check
Myth: Searing meat "seals in the juices." Truth: This is a common misconception. Searing creates flavor and color, but it doesn't create a waterproof seal. Moisture loss happens throughout the entire cooking process, which is why a thermometer is your best friend for these Baked Healthy Chicken Strips.
Myth: You need to deep fry to get a "shatter" crunch. Truth: As long as you have a fat source (like olive oil spray) and moving air (like a wire rack), the oven can create a crust just as crisp as a fryer, just with fewer calories.
Storage and Prep Tips
These are brilliant for meal prep. I usually make a huge batch on Sunday and eat them throughout the week. Store them in an airtight container in the fridge for up to 4 days.
To reheat, avoid the microwave. The microwave will turn your crispy panko into a sponge. Instead, pop them back in the oven or an air fryer at 350°F for 5 minutes. They'll wake right back up and get that snap again.
For the freezer, flash freeze the strips on a tray for an hour before bagging them. This prevents them from sticking together in one big clump. They'll stay good for up to 2 months.
Zero Waste Tip: Don't throw away the leftover egg wash! If you have a bit left in the bowl, whisk in a handful of spinach and a pinch of salt for a tiny, high protein snack omelet. Also, any leftover seasoned panko can be used as a topping for baked macaroni and cheese or a veggie casserole.
Best Sides and Dips
Since these are lean and crisp, they pair perfectly with something vibrant and acidic. A simple slaw with apple cider vinegar or some roasted broccoli works well. If you want something more indulgent for a game day, my Cheddar Nacho Sauce makes an incredible dipping sauce that cuts through the crunch.
For a healthier dip, try mixing Greek yogurt with honey and Dijon mustard. It gives you that classic honey mustard flavor but adds a boost of protein. If you're serving these for kids, cut them into smaller "nugget" sizes and serve with a side of sliced cucumbers and carrots to keep the meal balanced.
Trust me, once you get the hang of the wire rack and the oil spray, you'll never go back to the soggy oven tenders of your past. These Baked Healthy Chicken Strips are fast, budget friendly, and actually satisfy that craving for something crunchy. Let's get cooking!
Recipe FAQs
Are baked chicken tenders healthy for you?
Yes, when baked instead of fried. Baking significantly reduces the fat and calories associated with deep frying while keeping the protein high.
Can you cook chicken strips in the oven?
Yes, and it is the best way to achieve a crunch without oil. Use a wire rack on a baking sheet to ensure hot air circulates around the entire strip.
How to make healthy crispy chicken strips?
Dredge the strips in flour, dip in beaten eggs, and press firmly into seasoned panko. Bake at 400°F on a wire rack and finish with olive oil spray for a golden snap.
Is it true these chicken strips are suitable for Passover?
No, this is a common misconception. This recipe uses all-purpose flour and panko breadcrumbs, which contain grains and are not Passover compliant.
How to reheat these for meal prep?
Heat them in the oven or air fryer at 350°F for 5 minutes. Avoid using the microwave, as it turns the crispy panko coating into a sponge.
Can I use almond flour instead of all-purpose flour?
Yes, almond flour is an excellent low-carb substitute. These strips pair perfectly with garlic pull apart rolls for a comforting, complete dinner.
How to check if the chicken is fully cooked?
Insert a meat thermometer into the thickest part of the strip. Ensure it has reached an internal temperature of 165°F to guarantee safety without drying out the meat.
Baked Healthy Chicken Strips

